DIY Screen Build, Part 1

As I began down the journey of my first home theater, I spent a ridiculous amount of time researching the different screen options. But the more I looked, the more disappointed I was at either the size, cost, or gain of the screens available. My room is 18′ deep and 13′ 6″ wide and I wanted to maximize my screen size. Not only that, but I wanted to have my speakers behind the screen and I wanted enough gain that I could do HDR without brightness issues. Let’s start with how to decide what size screen you should have and how I decided to build a DIY Screen.
DIY Screen Size
If you ask 100 people on the AVSForum what size screen you should have for your theater, you will get 200 different answers with most starting off with two words: it depends. And it depends really does sum up the quandry of screen size in a home theater nicely. It depends on how immersive you want the experience to be. It depends much depth your room has compared to the throw distance of your projector (and future projector). It depends on the width of your room and where you want your speakers. It depends…you get the point.
I started off my trying to figure out “the right” size screen for my room size. That took me down the rabbit whole of looking at the Society of Motion Picture and Theater Engineers (SMPTE) recommendations and then the THX recommendations and then reading the AVSForum…a lot. The SMPTE recommends a viewing angle of 30 degrees. This means you pick your main viewing location and either do some complex math or you a calculator from the internet. Doing the math for my room using a 14′ viewing distance (in between my first and second row) left me with a sad screen size of 90″.
Then I moved on to the THX recommendations of 35 degrees. This, I thought, sounded more promising since it would at least be bigger than 90″. Doing the math again I was left with 109″. Sure, they make 110″ screens, but it just didn’t seem big enough to me. And this is where we get to endless searches on AVSForum. And the recommendation there was interesting…just try different sizes and find what works for you. I found this to be refreshing as I was trying to hard to look at recommendations instead of just seeing what I liked.
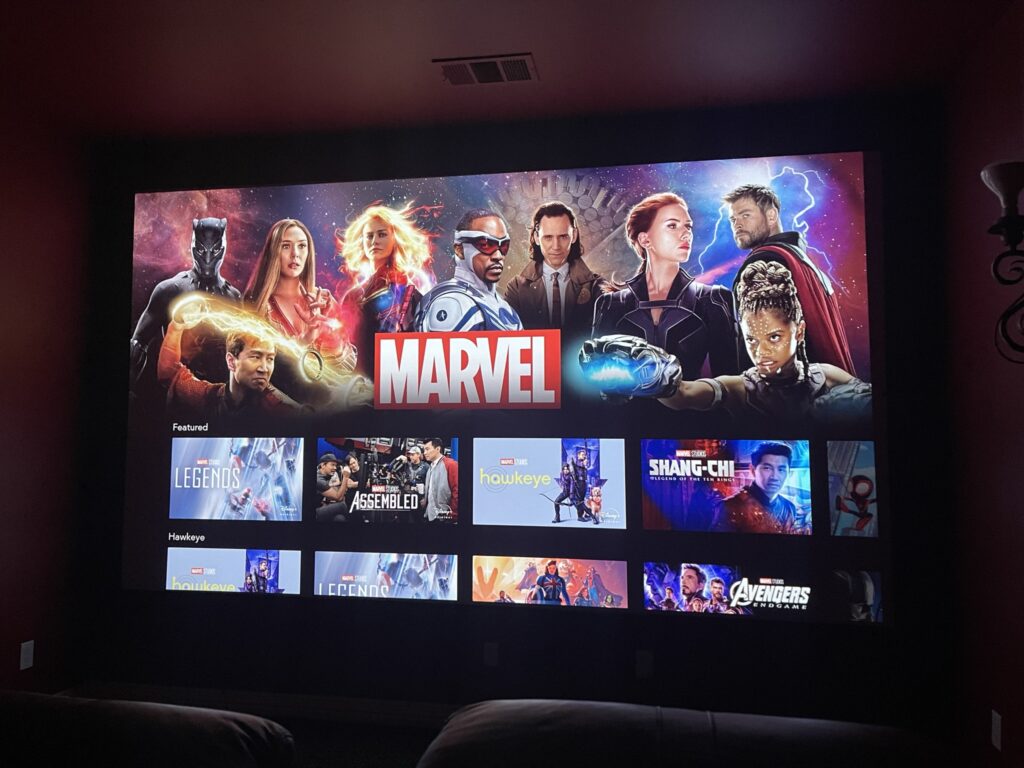
So…I taped off my wall with the biggest size I could fit in my space and it came out to 165″. Now that sounds like the right size. And as I sat in my chair taking in the size, I thought…this is perfect, for me! Many people might think it’s too big, others might think its not even big enough, but it worked for me. But now I had a problem…if I had my screen that wide, where would I put my speakers?
Speaker Placement with a Large DIY Screen
I had a great idea of what my size screen would be…which was awesome, but now I had no idea where to put my speakers. With my screen size, I would only have about 8″ on either side of the screen. I also had a height problem. My screen was 24″ off the ground the way I designed it, so now I have to figure out where my center channel would go. This led me down the seemingly crazy idea of an acoustically transparent screen. This would allow me to get three matching speakers behind the screen and even put them at the right vertical level of the screen.
I’m going to be honest…I had no idea that was even a thing when I went down this path. The more I read about it, the more awesome it sounded. So I had to try that! The problem was finding a screen that would be the right size and not break the bank. The best option I found was a 150″ Silver Ticket screen that had pretty good reviews. But it was smaller than I really wanted and it wasn’t exactly a budget item at roughly $1200. So I kept looking. Then I stumbled upon the DIY Screen sub-forum at the AVSForum.
There were a number of people building their screen using materials like milliskin spandex or buying material from screen manufacturers. There were even a few people getting tons of samples and doing comparisons. The more I read, the more interesting it became. Acoustically transparent screens very commonly have texture which can be visible at certain distances. Even spandex, which has virtually no texture has the downside of having a much lower gain (which makes for a dimmer image).
In the end, I happened upon the Seymour AV website where they have an entire page and how-to guide on building your own screen. I cross-referenced this to all the threads I had been reading about materials and found that the UF material that they sell was perfect for my needs. It had a higher gain and spandex, was much taller allowing me to build a 165″ screen, and was readily available. Even better…it wasn’t obscenely expensive. It was only $13.95 / linear foot. For my screen, that meant the material was only going to cost $181 plus shipping. Even better than that, they answer their phone and are extremely helpful.
In my conversations with them they helped me decide on the right material (which was in fact the UF) and even gave me some helpful tips on painting the frame that I was going to build and getting a black backer material. They sold such a material, but it was going to cost almost as much as the screen material. I had found another backer material on clearance at the Silver Ticket website for $60 and rather than trying to sell me on their product, they readily said “get that, you can’t beat that price.” That was pretty refreshing.
Brightness for HDR and Your Screen
Obviously I’m a fan of Seymour AV, but there are other great options out there. I seriously considered the spandex route, but I needed 120″ wide material to build my 165″ screen, and due to supply chain issues, it just wasn’t available. And honestly, it wasn’t much cheaper than the Seymour product. But, more importantly, it didn’t have nearly the gain of the Seymour product. But wait…why do I care about screen gain? I would start by reading this article, as it goes into a lot more detail than I will here. In short, screen gain is the ratio of light reflected by the screen. So if you have a 1.0 gain, it reflects the same lumens that your projector is firing. If you have a .8 gain, it reflects 80% of the lumens back. The higher the gain, the brighter the image.
Again…why do I specifically care? Bright isn’t always better, but it does have importance in today’s home theater. With HDR being supported by more and more projectors and content, brightness matters. While projectors can’t really do “real HDR,” the brighter the image on your screen, the better job it does simulating HDR. So it can be helpful to understand your projector choice when you are picking a screen material. In my case, I was targeting the JVC lineup at the time (before the new laser models released) or the Epson lineup. The Epson 6050 UB was my choice, which had a light output of 2800 lumens. By contrast, the JVC that was closest to my price range was the NX5 which only had a light output of 1800 lumens. So I figured I would shoot for the higher gain screen in case I went that direction.
Designing my DIY Screen
Now that I had decided on a fabric to use and a screen size, the only thing left was to design the frame to support it. Luckily, the AVSForum wins again…thanks to MississippiMan. He posts in the DIY Screens sub-forum all the time and answers questions and helps the community massively. He was kind enough to provide excellent feedback on my design. There are plenty of options like a flat frame, frames made from metal, frames made from wood and spring loaded frames. In the end, I decided to go with a wood-based frame as I’ve spent more than my fair share of time woodworking and had the tools necessary. So…here’s the design he helped me finalize:
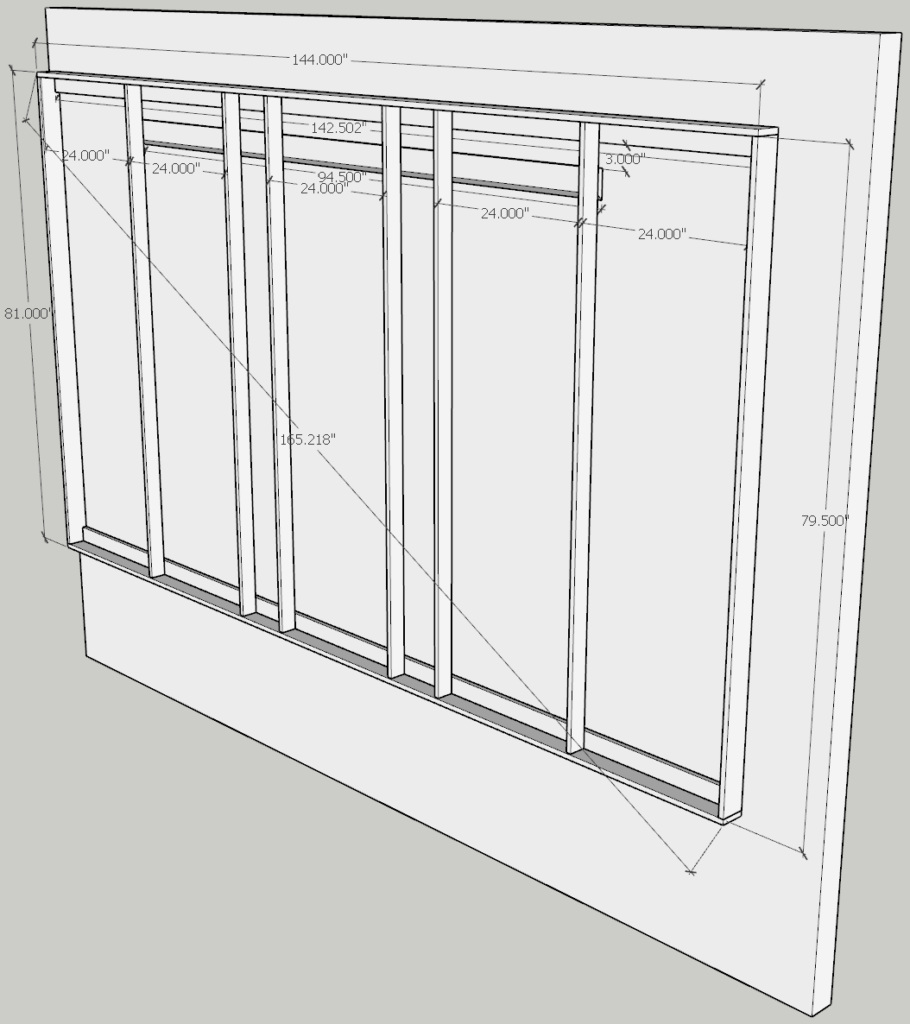
The outside structure that supports the frame is made from 1×4 Poplar. The inner supports are 1×3 Poplar. The top and bottom horizontal cleats are 1×4 Poplar. The French cleat is a 1×8 ripped in half at a 45 degree angle to hang the screen from the wall. It’s much like building a wall from hard wood. You need enough support to stay square and rigid while stretching and attaching your fabrics. The cleats on the top and bottom are key to keeping it nice and rigid. The French cleat helps as well. The actual DIY Screen design itself was built using my favorite tool: SketchUp.
Next Up, The Screen Build
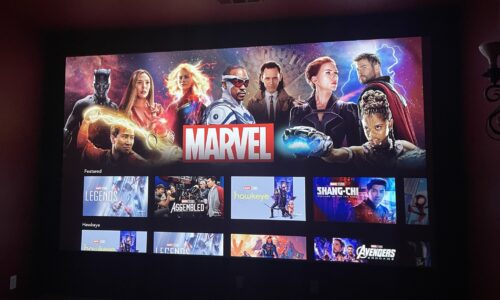
While I was planning on this post to be my one post about building a DIY Screen, there ended up being more background than I had anticipated. So…it’s time to split the post into part 1 and 2. In the next post, I’ll show you how I built my screen, what tools I used, and how long it all took. In the meantime, here’s a sneak peak of what it looks like when you get done: