DIY Screen Build, Part 2

I must have gotten too much enjoyment out of my DIY screen since I haven’t made it back to post the follow-up of how I actually built the screen! This process starts with some wall preparation, then we’ll get into the actual frame build, the backing, and then finally the screen material. Let’s get started with some tools that I used and the materials.
DIY Screen Tools Required
- Miter Saw
- Table Saw
- Kreg Jig and Bit
- Staple Gun
- Tape Measure
- Pencil
- Paint Roller/Pan
- Paint Brush
- Ladder
DIY Screen Building Materials
- 4 @ 1×4 (12ft) Poplar Hardwood
- 2 @ 1×4 (8ft) Poplar Hardwood
- 6 @ 1×3 (8ft) Poplar Hardwood
- 1 @ 1×6 (8ft) Poplar Hardwood
- 13ft @ Seymour AV UF Screen Material
- 1 @ Silver Ticket Black Backing for Acoustically Transparent Screens
- 1 Box @ Kreg Hardwood Screws
- 1 Box @ 3/8 Staples
- 1lb @ 2″ Construction Screws
- 4 @ 3 1/2″ Lag Replacements
- A few thumb tacks
- 1 Gallon @ Sherwin Williams Flat Promar 200 Latex in Tricorn Black
DIY Screen Preparations
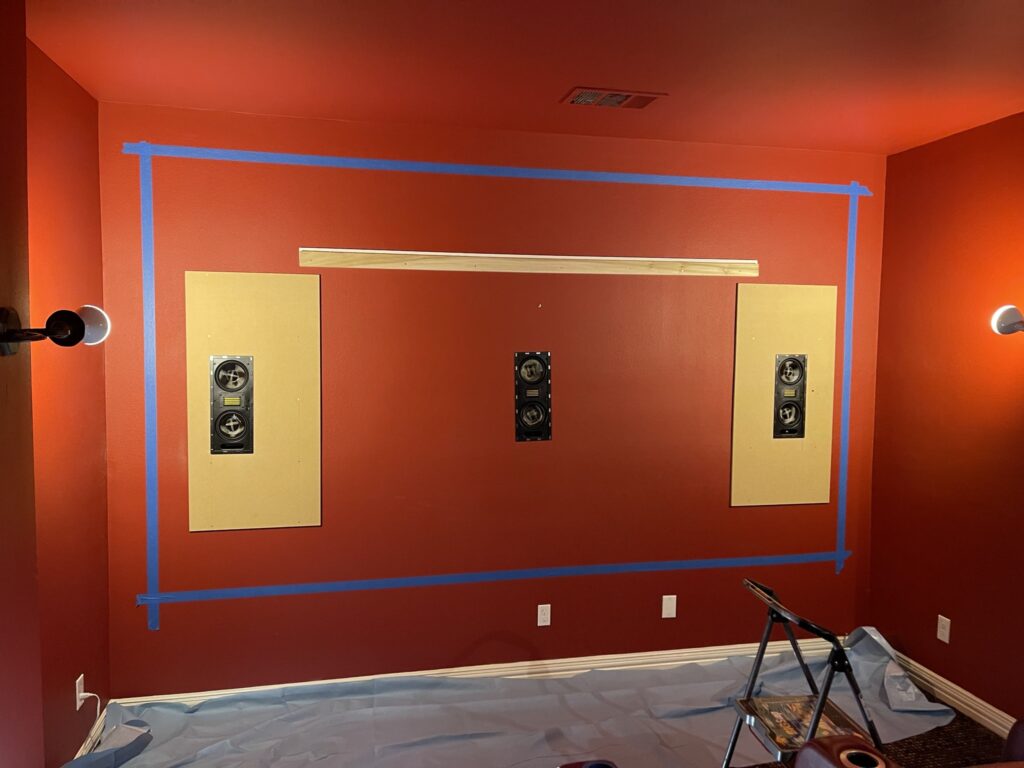
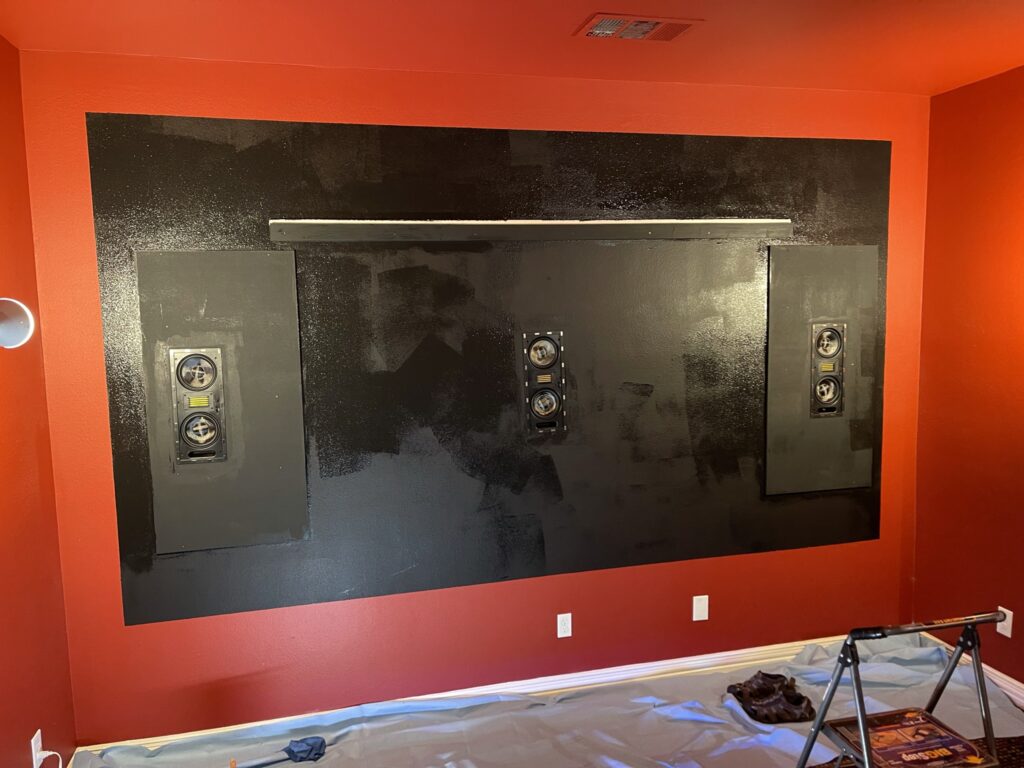
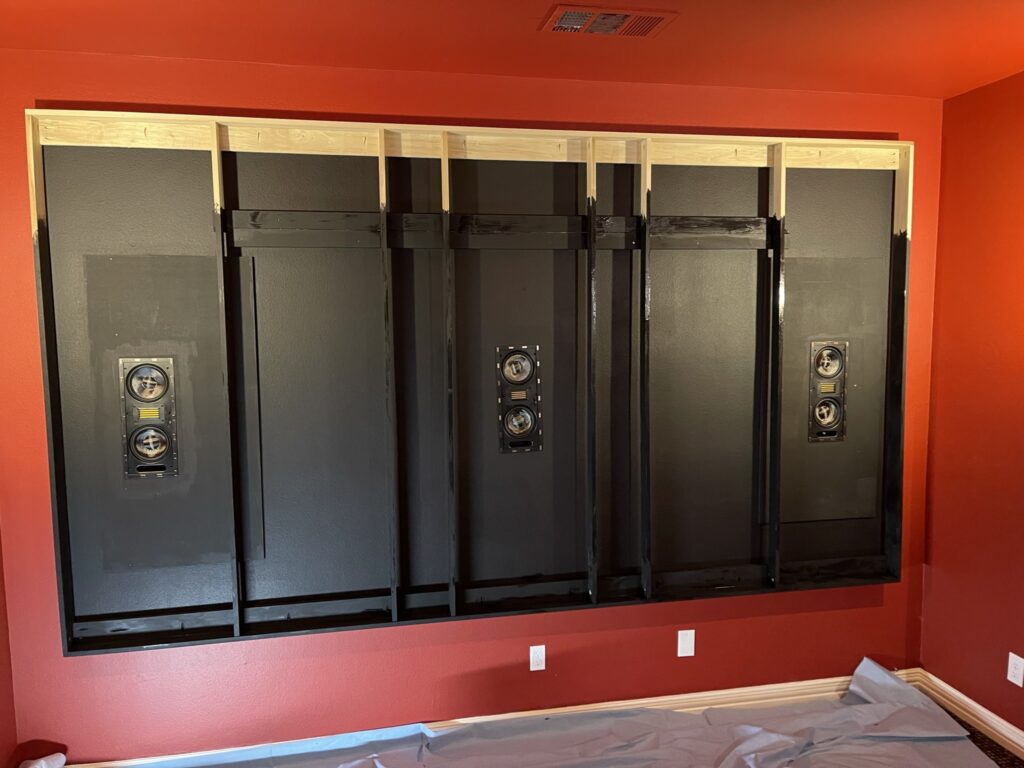
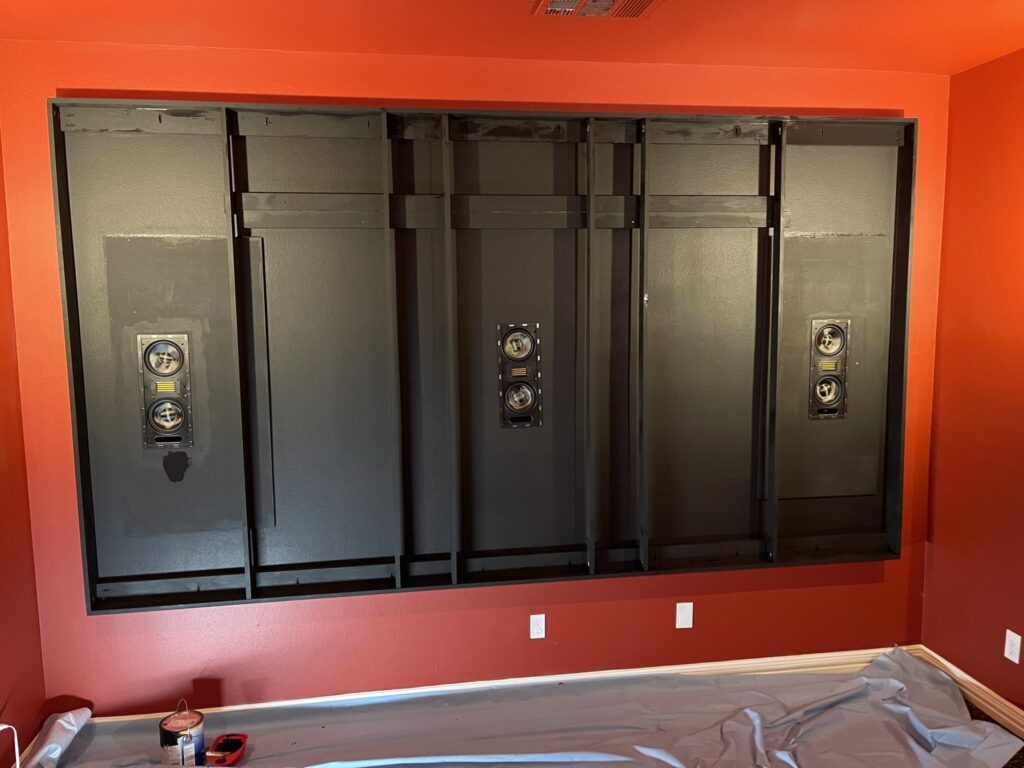
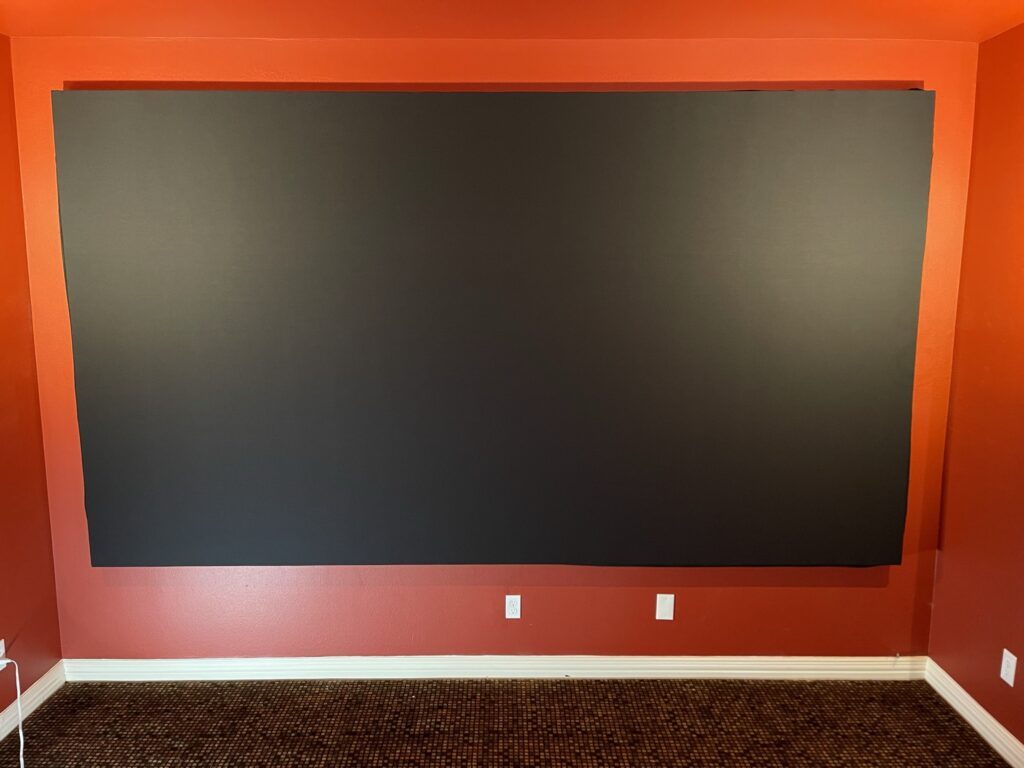
I started by taping off where my screen would live on the wall. In addition, I went ahead and put down a drop cloth to prepare for painting. Because light shines through our acoustically transparent screen, we should use both a black backer and paint the wall and frame black. Could I get away without the painting the wall? Maybe…but why risk it. I needed to paint the frame anyway…the wall is easy in comparison. I just used a roller.
The French Cleat
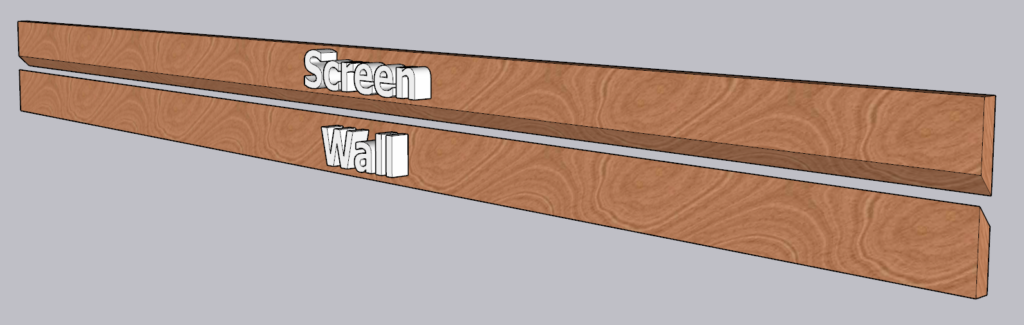
The French cleat as been a favorite way to attach things to a wall for…ever? I managed to miss getting pictures of building mine, but essentially the French cleat will be a 1×6 that we rip using a table saw at 45 degrees. We can then attach one half to the screen to provide extra cross support and hang it from the wall. The other half will be attached to the wall. This gives us an easy way to adjust the level of the screen and make sure it never falls off the wall. Since I didn’t get a picture, here’s a basic design of what it would look like and you can see the wall portion attached in the photo above.
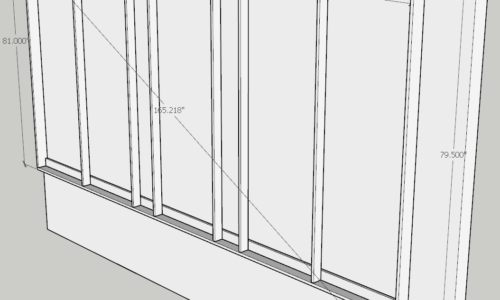
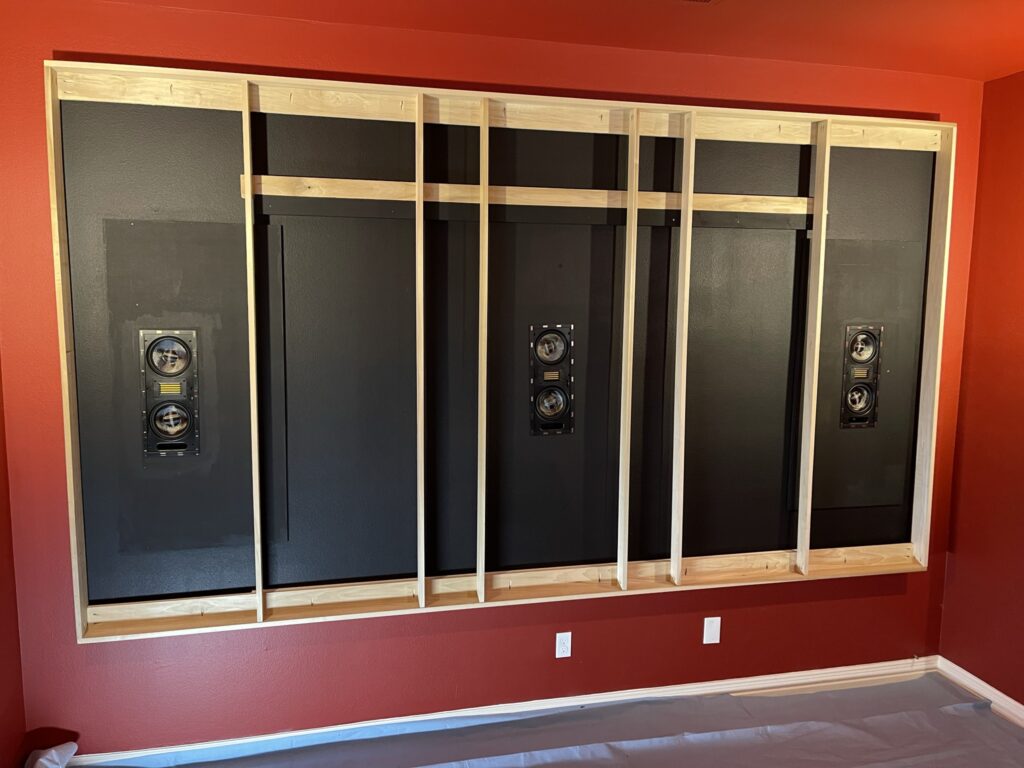
Frame Construction
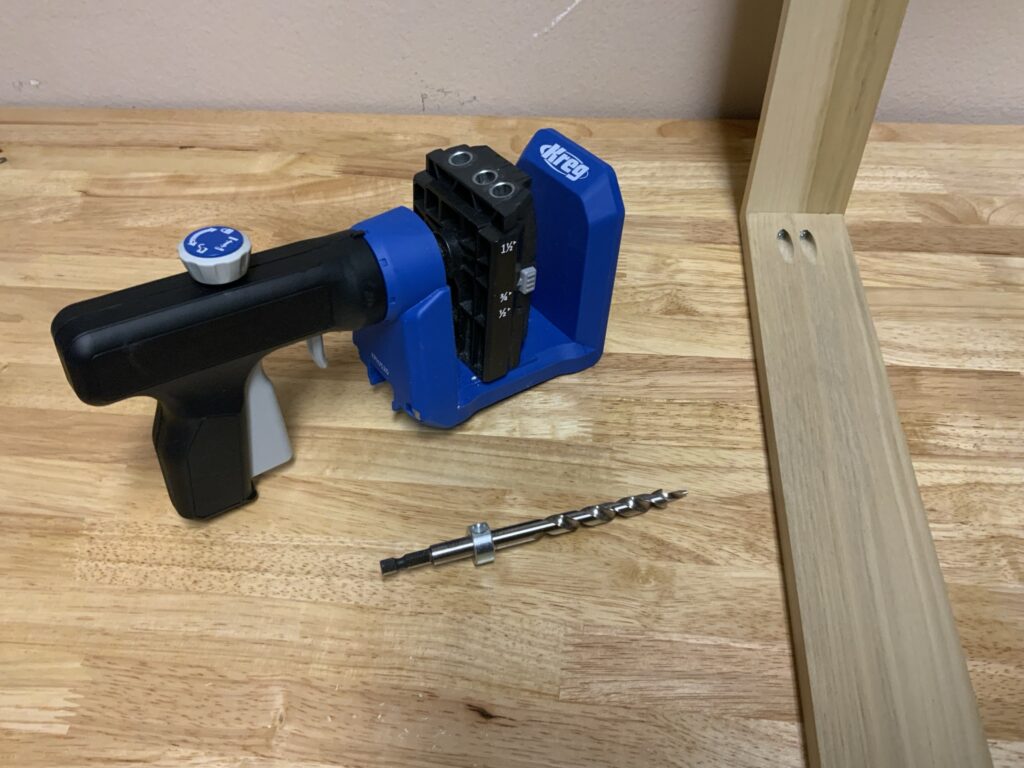
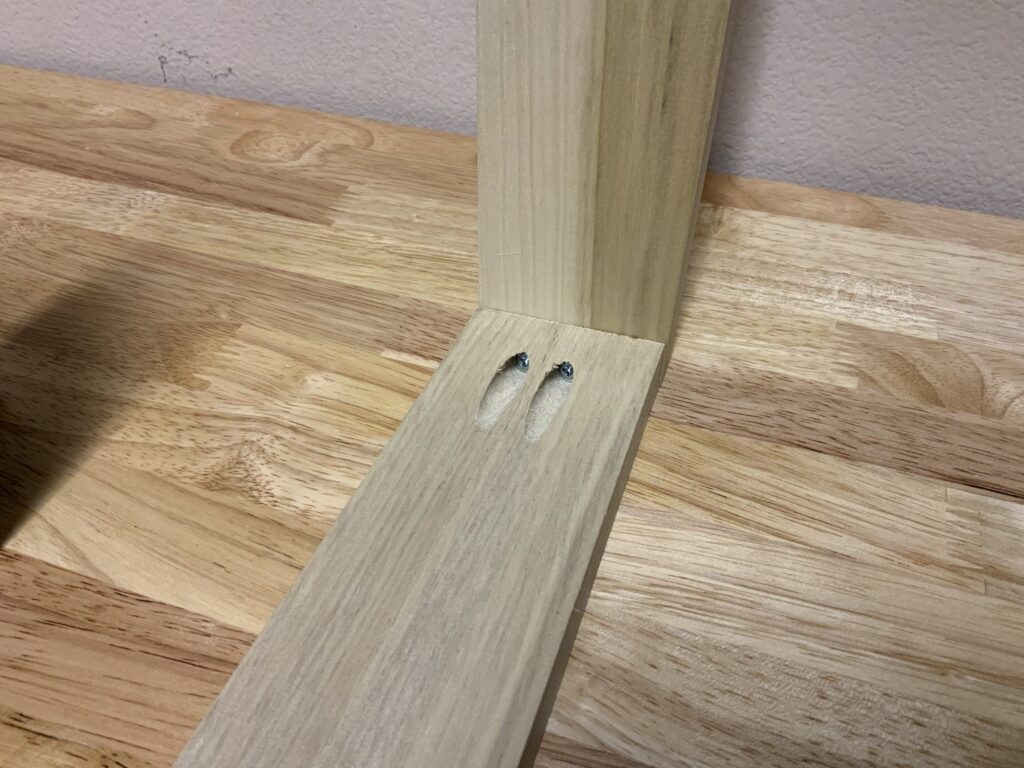
Once we cut down the poplar using our miter saw, its time to build the actual frame. To do so, we use the Kreg pocket screw jig and screws. These provide amazingly strong joints, specially for right angles. You see them used everywhere from cabinetry to just laminating wood.
I decided to construct my frame in the room since it was 12ft long and was going to be difficult to move. I started with the basic outside frame and then added cleats to the top and bottom. Then I made my way across with the 1×3 supports.
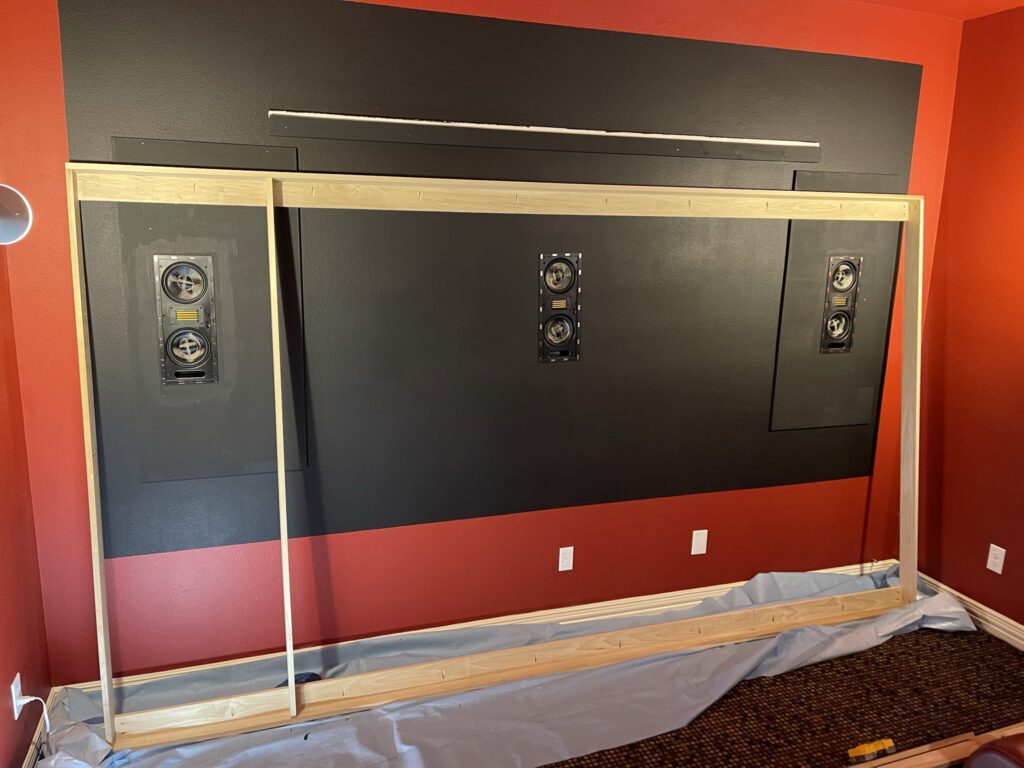
Once I completed the frame, I mounted it to the wall using the previously discussed French cleat. This seemed like a better plan than painting the pieces prior to assembly or painting it outside of the room and carrying it in.
Screen Material
Now that the screen is painted (and dry), it’s time to mount the black backer. I chose to do this in place rather than on the floor. Sure it required a ladder, but it was easier than attempting to work on it in my room which had chairs limiting the room available to work. I started with the black material.
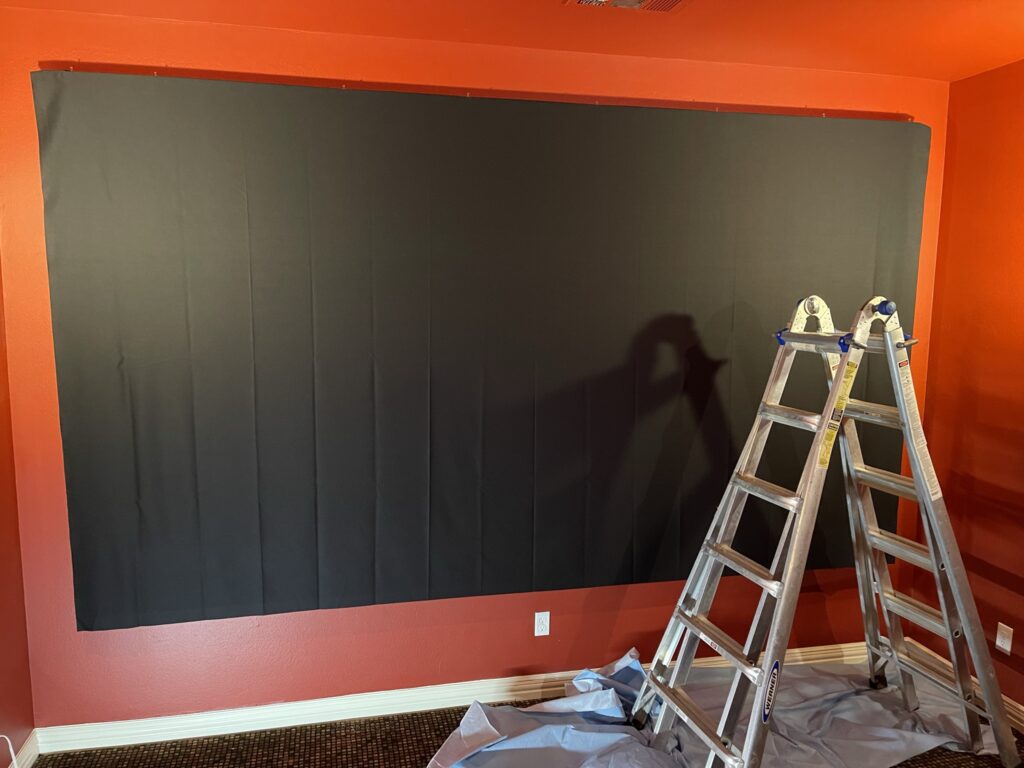
Once the materially was loosely in place, I went from the center out on the top like you would with upholstery. I did this on the bottom and then the side, making sure to stretch any creases out. Luckily it stretched great and didn’t require ironing or steaming for me.
I purchased a Milwaukee M12 stapler and it was such a great purchase. Poplar is a hardwood, and as such…is hard. Harder than I thought it would be honestly. The poplar was very challenging to get a tack in while the electric stapler didn’t flinch and the battery lasted forever.
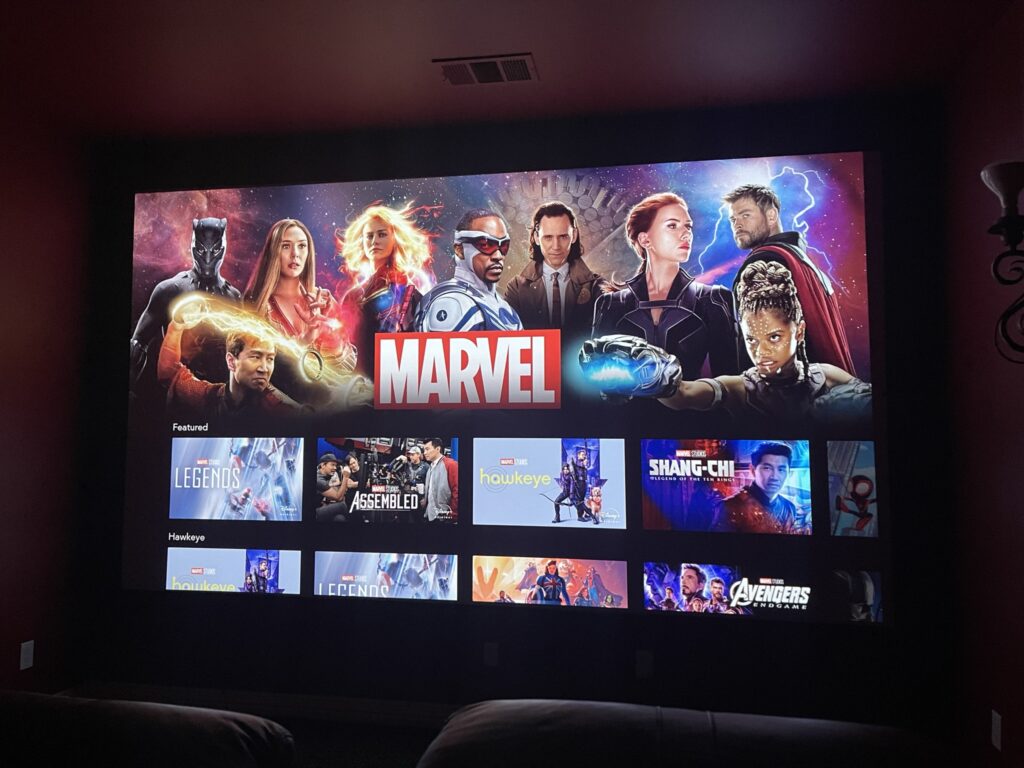
The final step is to stretch the screen material on. I had my dad helping me as an extra set of eyes to watch for wrinkles as I stapled it. I followed the same process as the backer and started with the top and worked my way out from the center. I didn’t go all the way across the top, bottom or sides. I worked out from the center on all four to make sure I didn’t end up with wrinkles. The UF material doesn’t really stretch much, so you just have to go slow and be careful as you make it around. Once complete, it looked like this:
Conclusion
I didn’t take as many pictures as I had intended, but hopefully this was helpful anyway. I’m impressed with the quality of the Seymour clothe and how easy it all went together. Next up…it’s time to build a riser!