BOSS Riser Build, Part 1
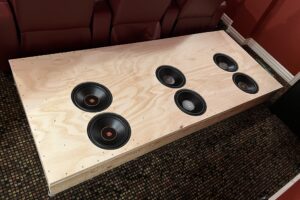
When I built my screen, I knew it was going to be big in the room, but I really liked the size and experience. The downside is that my second row of seats is on a 8″ riser and if you use a riser calculator with my seats and dimensions, the riser should be closer to 18″. So I started to research the best way to build my new riser, which of course led me to the AVSForum. As I researched risers, I came across the concept of a BOSS riser. You can read more here, but BOSS stands for Baffle Open Sub Shaker. Essentially, a BOSS riser connects to the sub out on your AVR using an external amp to provide amazing tactile response. This is similar to the concept of a Buttkicker or other amplified seat-shaker that augments your home theater experience. The previously mentioned thread is a wealth of great information, but its 380 pages of reading. So, I thought I would document my experience, hopefully providing some of that information in a single place.

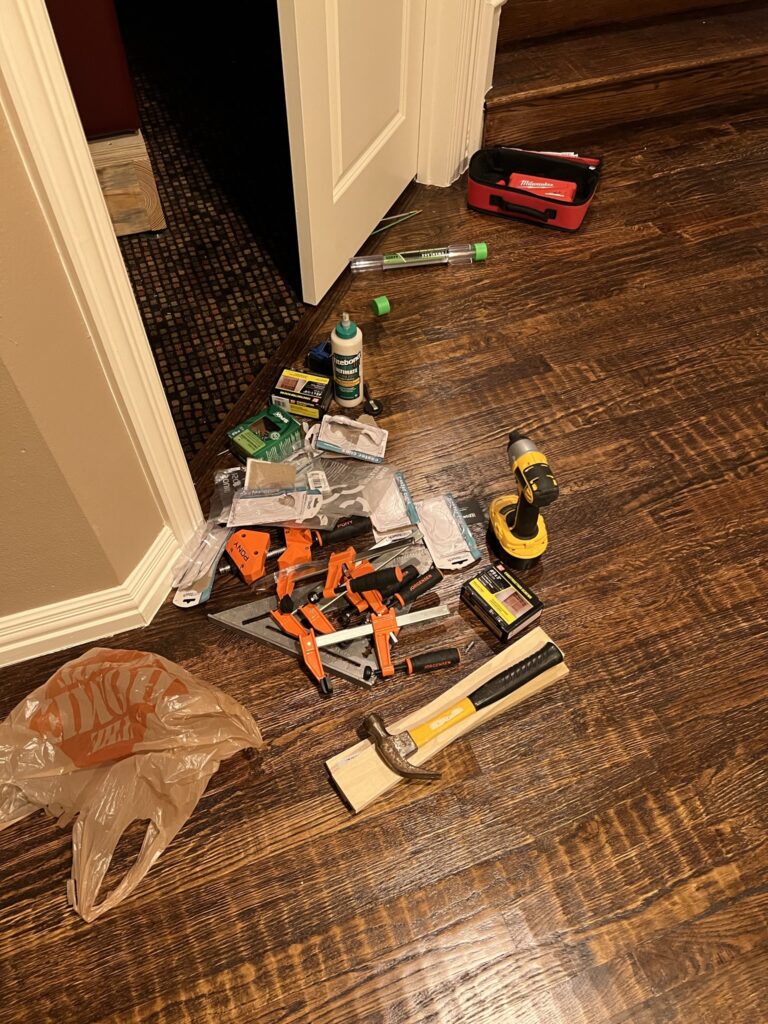
I’ll be constructing my riser in three basic stages: the riser build itself, finish work (trimming, painting, and carpeting), and finally shaking. This blog post will cover the riser built itself. This involves the actual base, the plywood top, and the of course, the subwoofer. I will also cover wiring up the subwoofers even though I won’t be adding the amp and such until later. Let’s start by taking a look at the tools I used. You might be able to get away with less tools, but this is what I used and would recommend.

BOSS Riser Tools Required:

  • Miter Saw
  • Circular Saw
  • 8ft Cutting Guide
  • Clamps (for the cutting guide)
  • Router
  • Hole Cutting Guide for Router
  • Extra Straight Cutting Router Bit (for when mine broke)
  • Impact Driver
  • Power Screwdriver
  • Drill
  • Tape Measure
  • Pencil
  • Work Surface
  • Soldering Iron
  • Small Torch or Heat Gun

BOSS Riser Building Materials

Now that we have our tools lined up, we need something to build the riser out of. The size of the lumber you use will be dependent on your height, width, and depth requirements. I decided to use 2×8’s (7.5″) with a double plywood top (1.5″) resting on isolators (1″, which we’ talk about later) and carpet savers. This should give me about 10″ of additional height for the seats. Here’s the full list of materials I used:

The Design

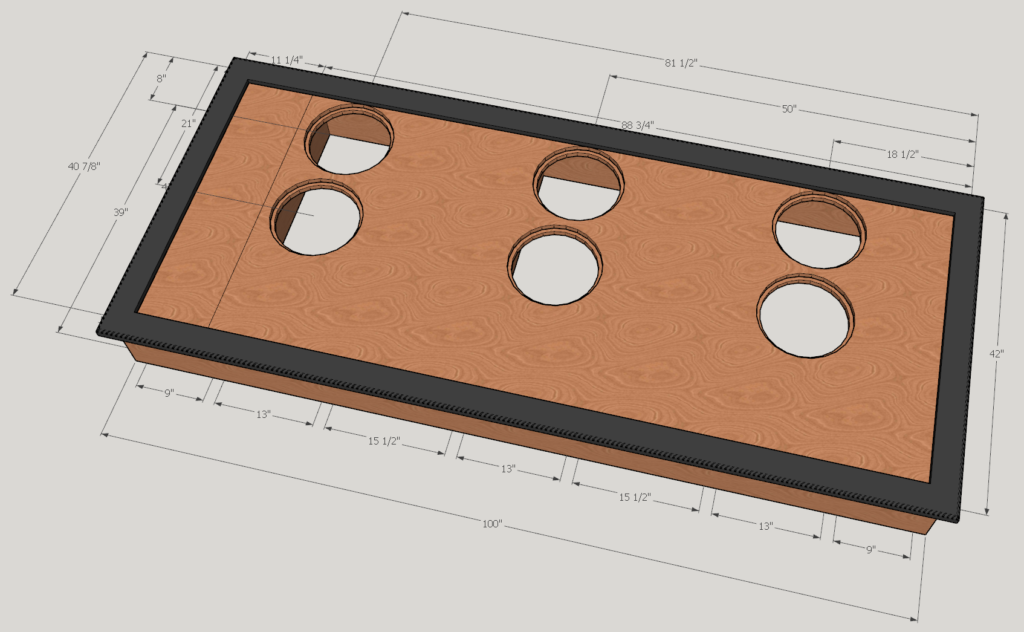
I’ve mentioned before how much I enjoy SketchUp, so of course I used it extensively for this process. Here’s the top view:
And here’s the bottom view:
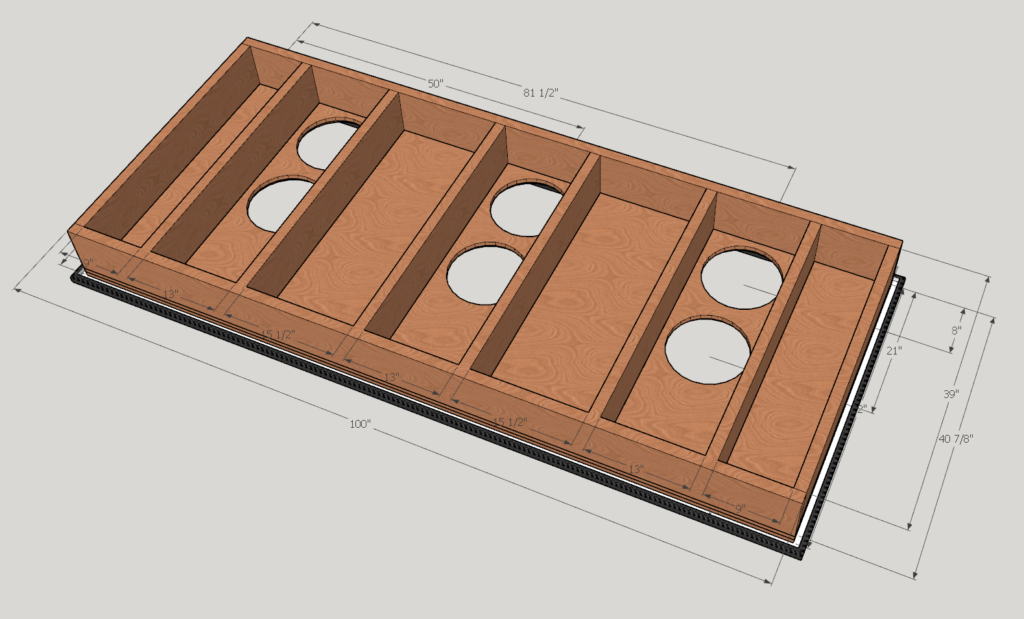
I tried to put my supporting structure right under the feet of my home theater seats. So I was less concerned about 16″ centers, and more concerned about it being supportive of the seats. I also had to piece in the plywood since 10ft plywood is obscenely expensive.

Building The Supporting Structure

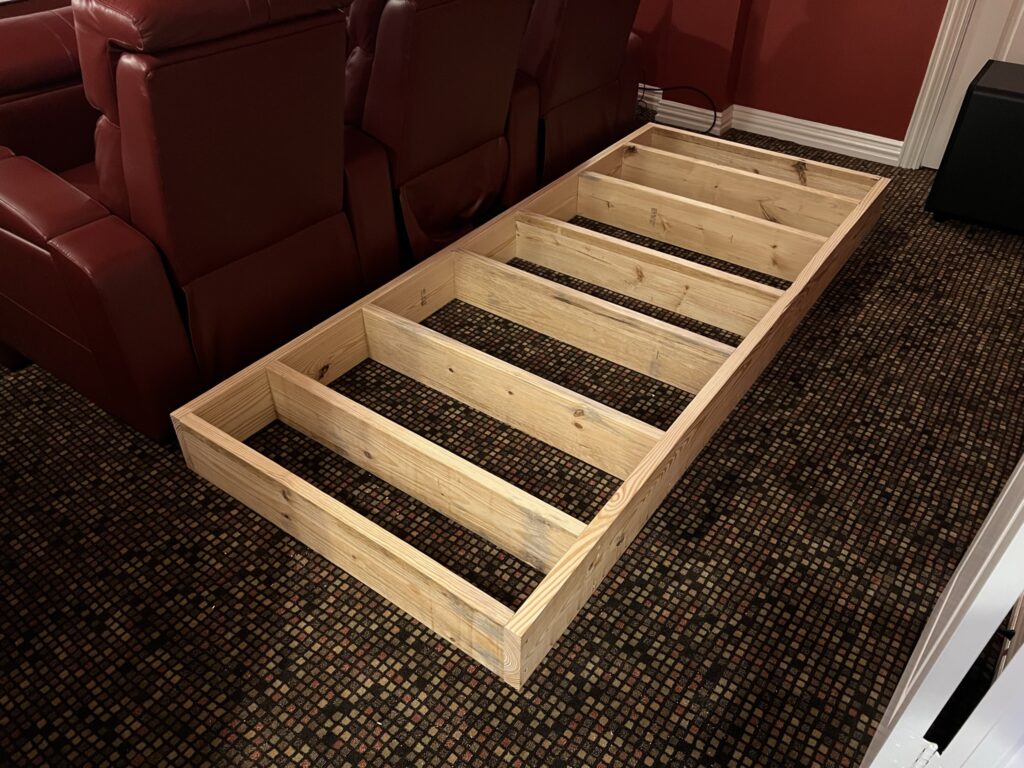
This was by far the easier part…it’s like framing a house. I cut two boards at 100″ and eight boards at 39″ giving me an overall platform size of 100″ x 42″. This is a pretty big platform, hence the six drivers. I screwed this together with 3″ construction screws:
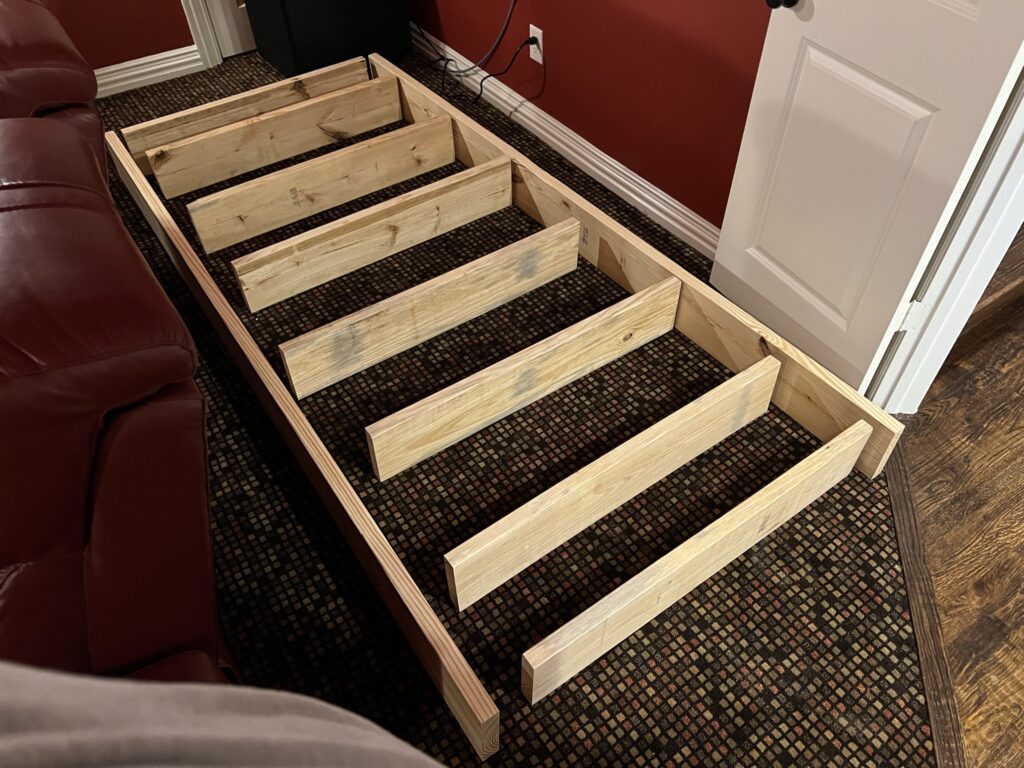
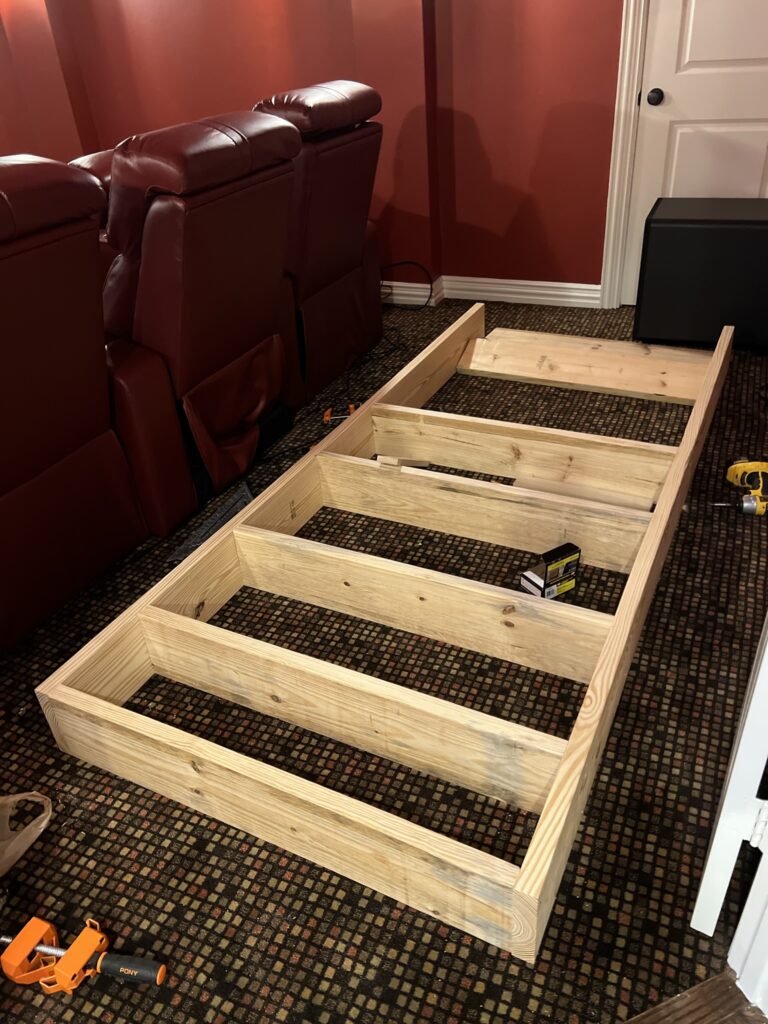
Laying it out for assembly
Mid-way through assembly
Fully assembled

Isolators

Before we move on to the top, we need to talk about isolators. These are basically rubbery half-circles that isolate the riser from the room. This means that the power from the drivers stays contained in the riser and doesn’t transfer into the room. More shake! The guidance is every 24″, but I couldn’t quite make that work, so I ended up with three per support:
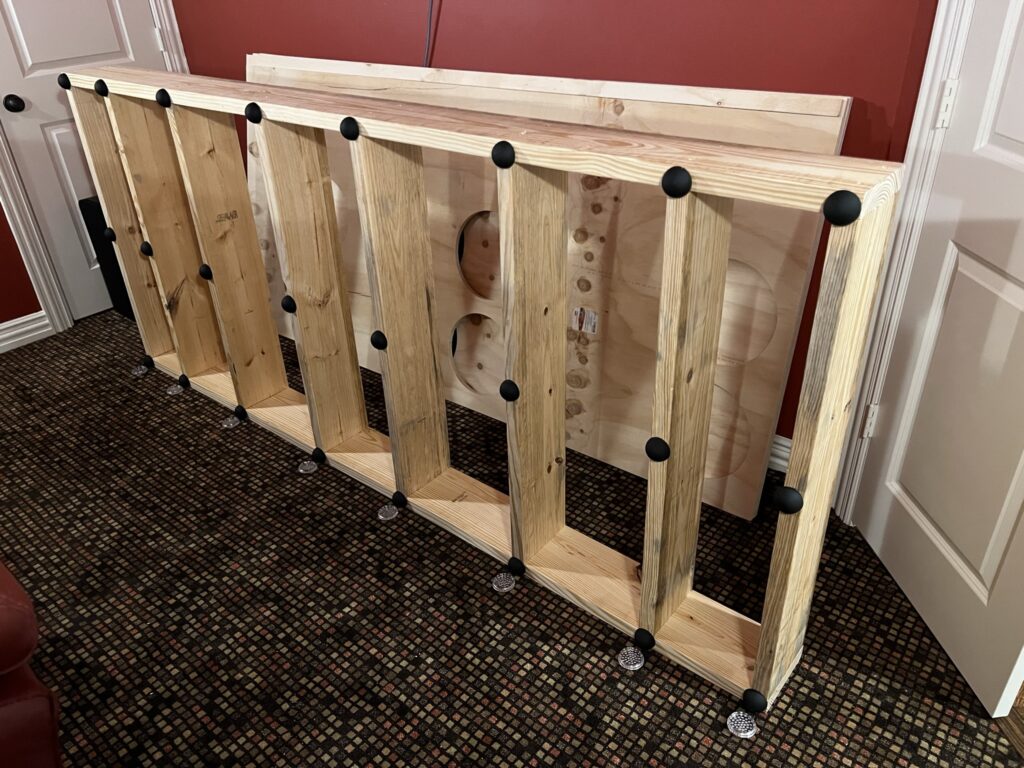
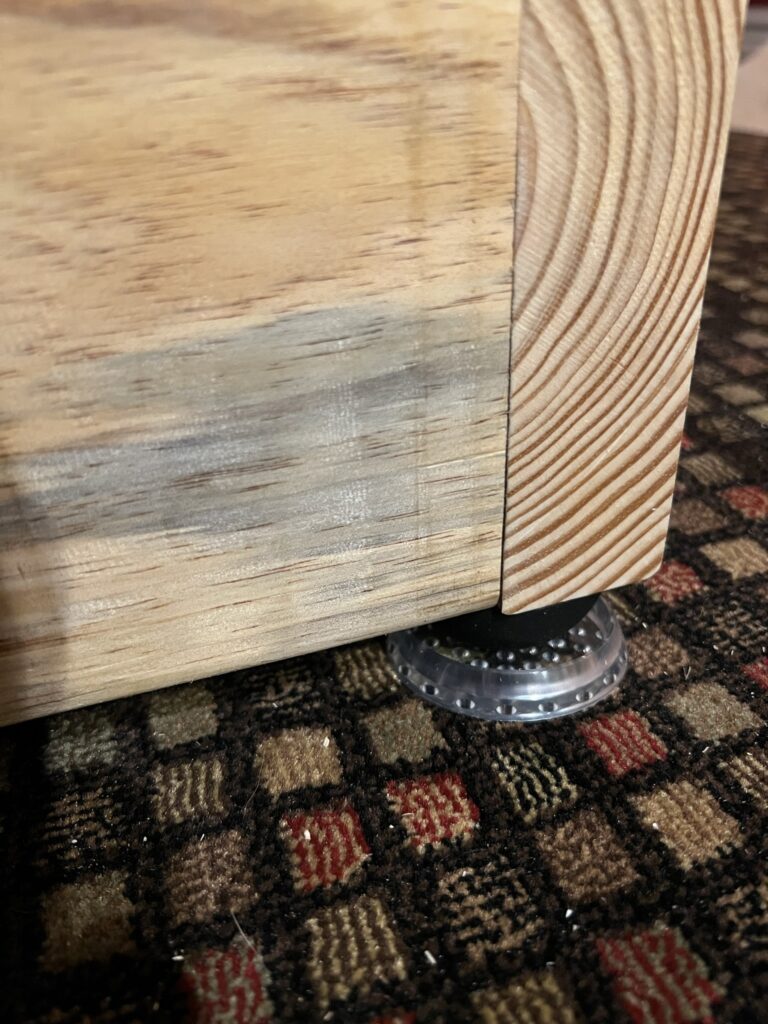
You can also see the first row of carpet savers that keep the isolators from sinking into the carpet and limiting energy transfer
A close-up of the isolator on the carpet saver

The Top

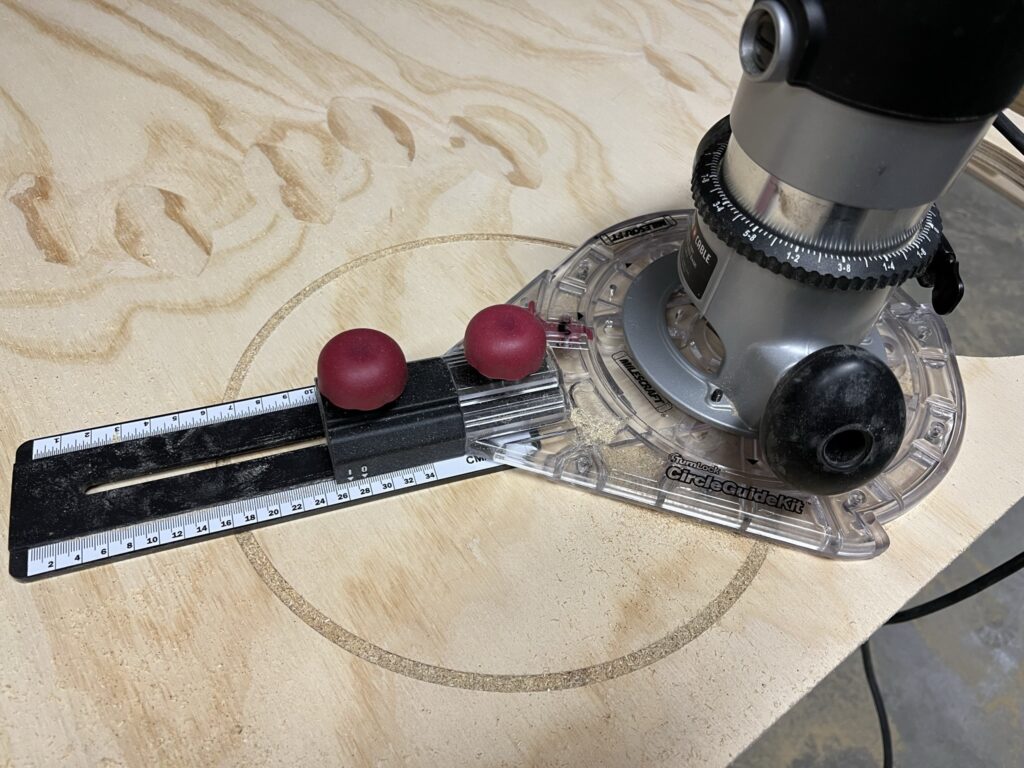
Now for the fun part…cutting giant holes. First I cut the plywood down using my circular saw and a straight cutting guide. Then I measured for the first hole and tried out my circle cutting guide for my router.
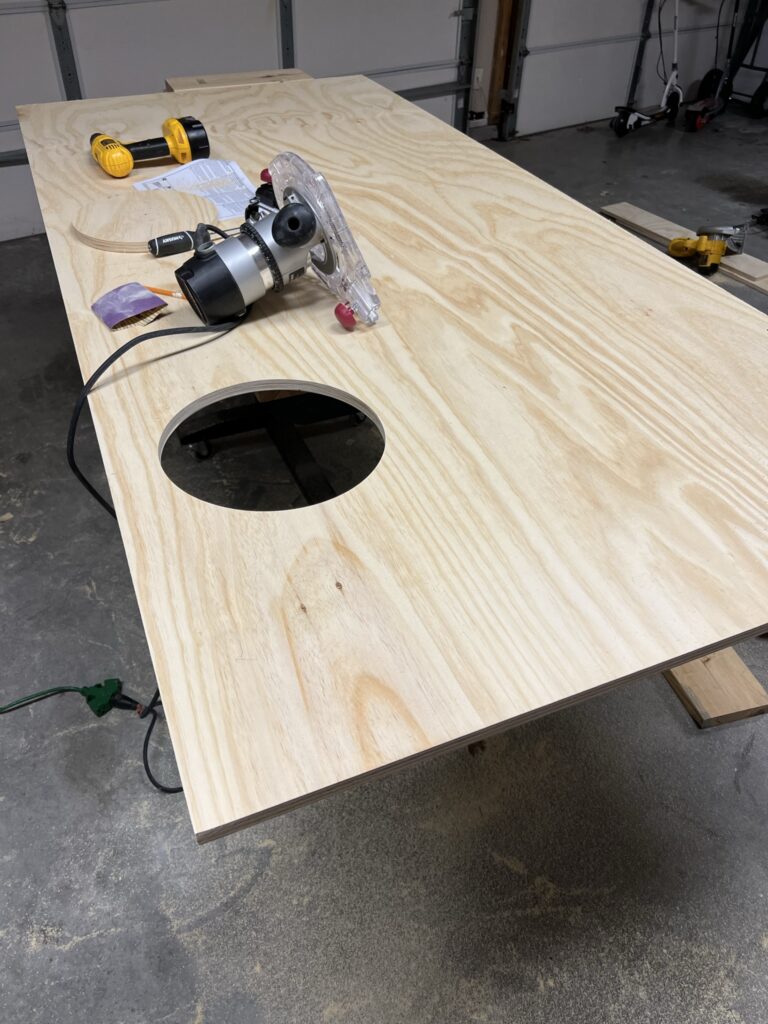
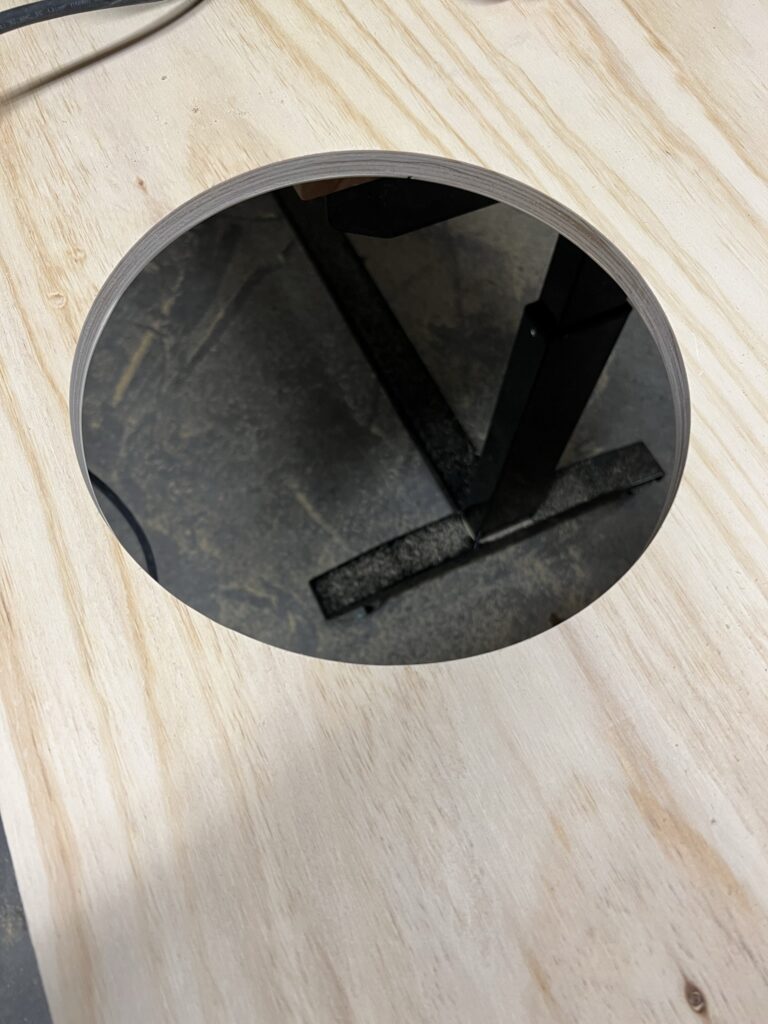
The first hole…definitely round!
A close-up of the hole, which is 11″
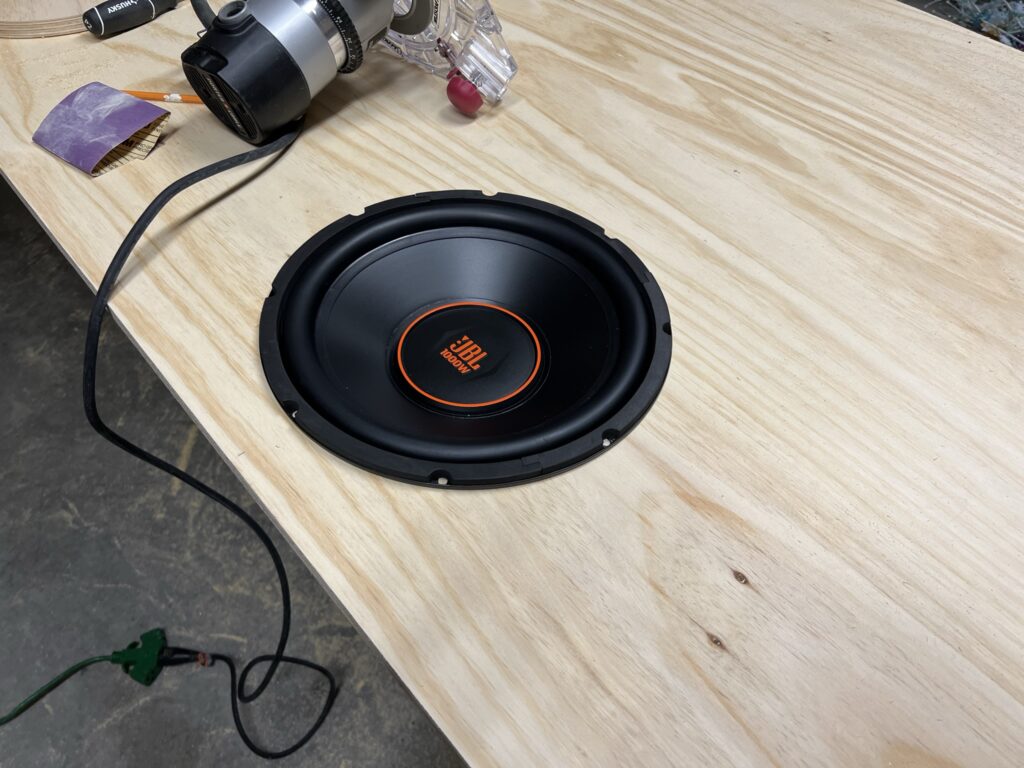
Test fitting a GX1200
Hole cutting in progress
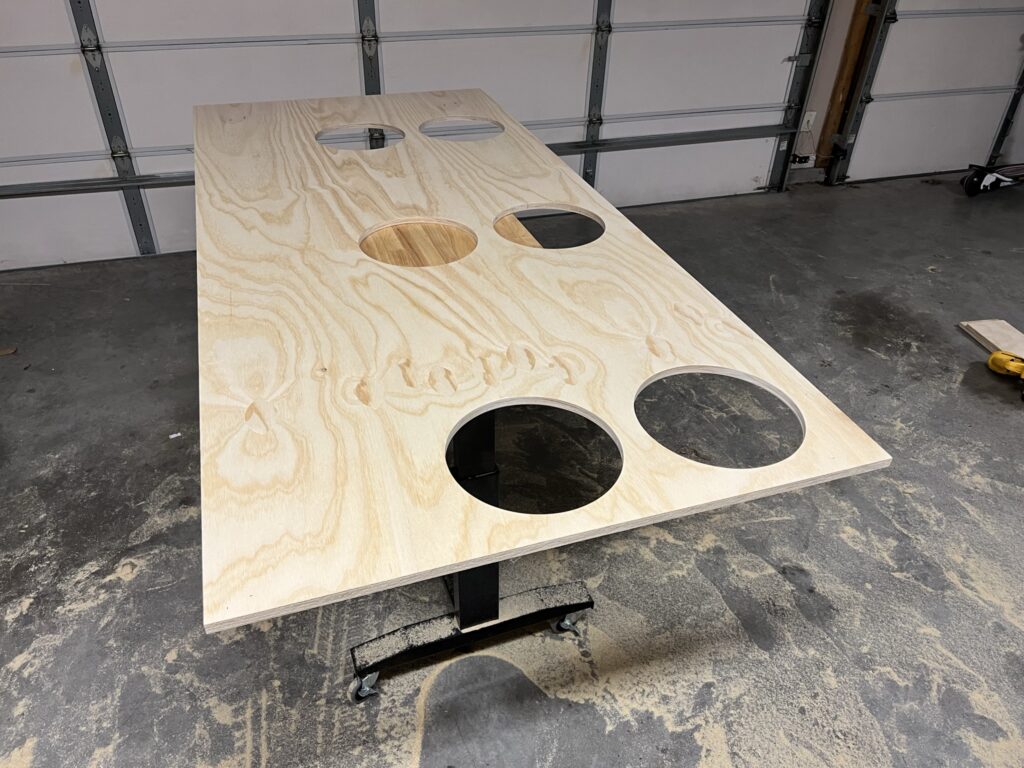
The completed first layer of the top!

Now that the holes are cut we can dry fit it on the base:
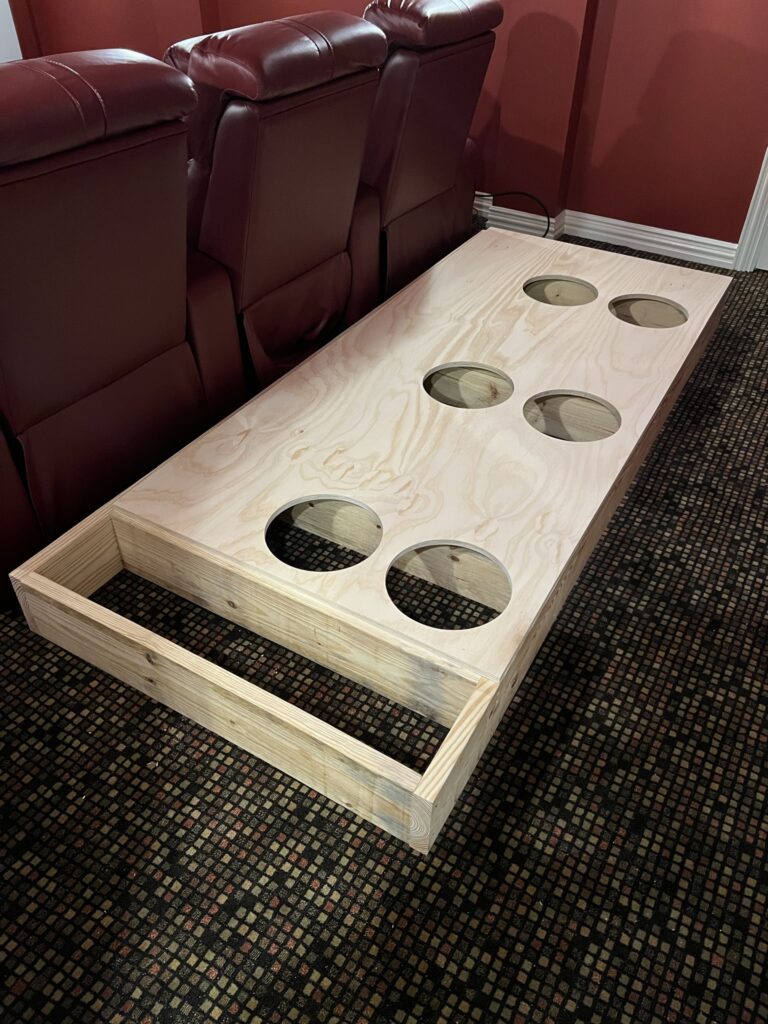
Fits!

Next I measured and cut the extra ends to for both layers and dry fit those as well:
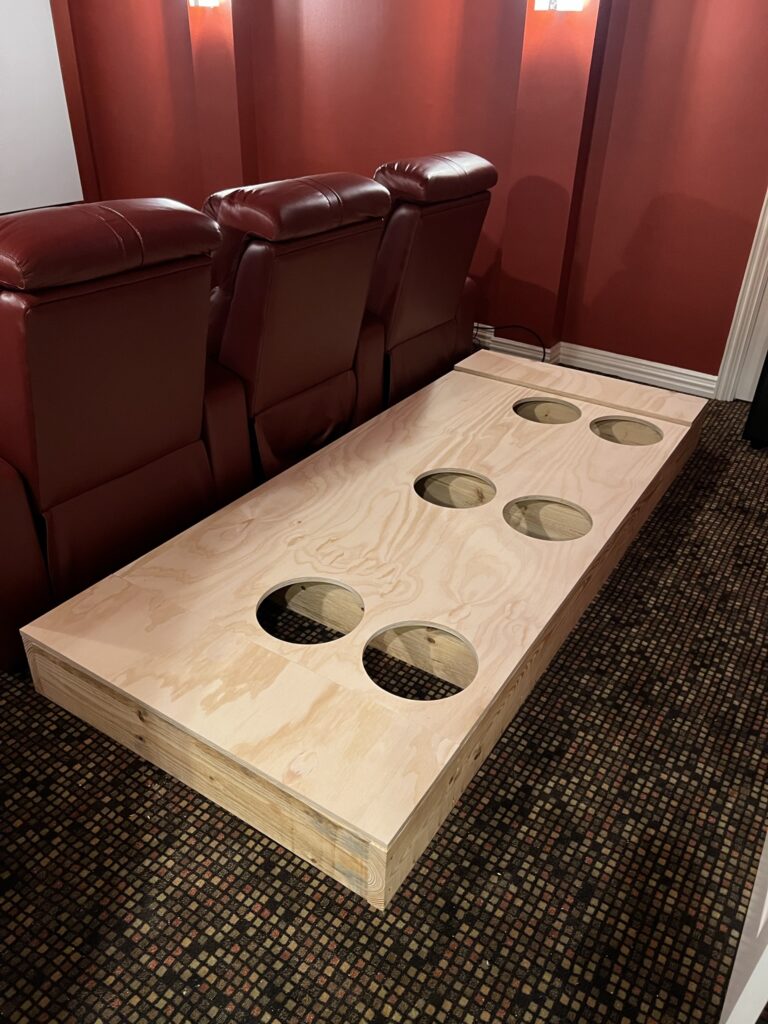
Still fits!

Now we can finish cutting the top, which has bigger holes (12.5″)…but before I could finish, I broke the bit. I think I let it heat up too much rather than waiting between holes. Luckily I had another bit.
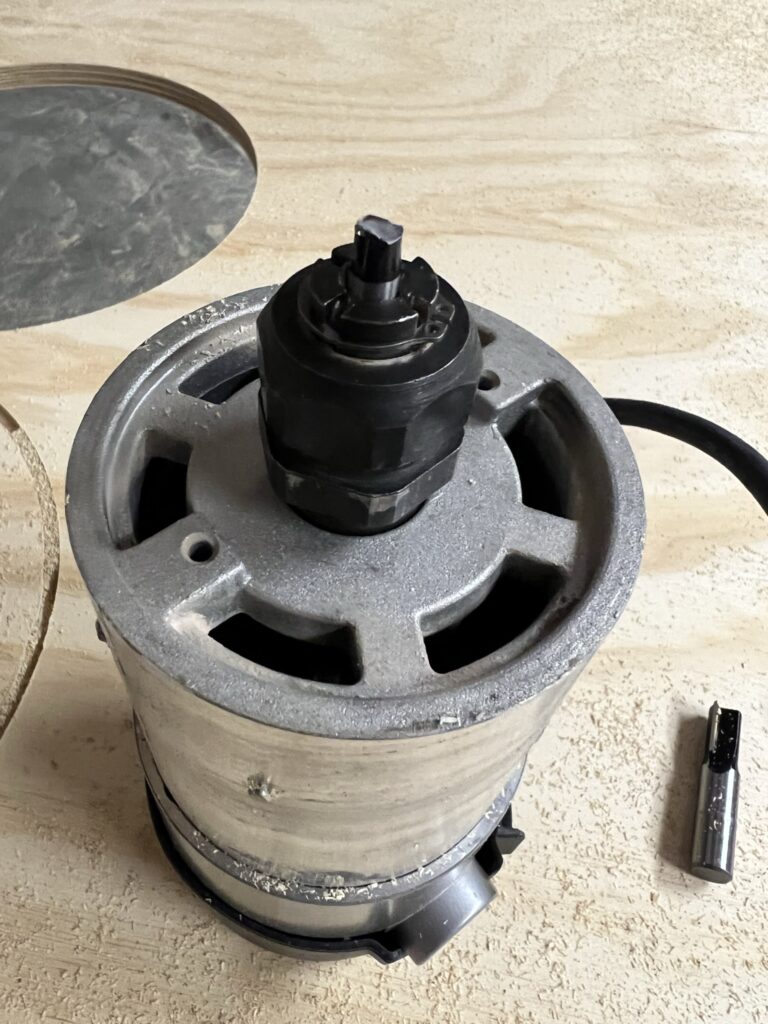
This happened half-way through the last hole…of course

Moving on…I finished the second layer of the top and then attached the first layer to the base with 1 1/4″ construction screws. Then I applied a layer of titebond wood glue and attached the second layer:
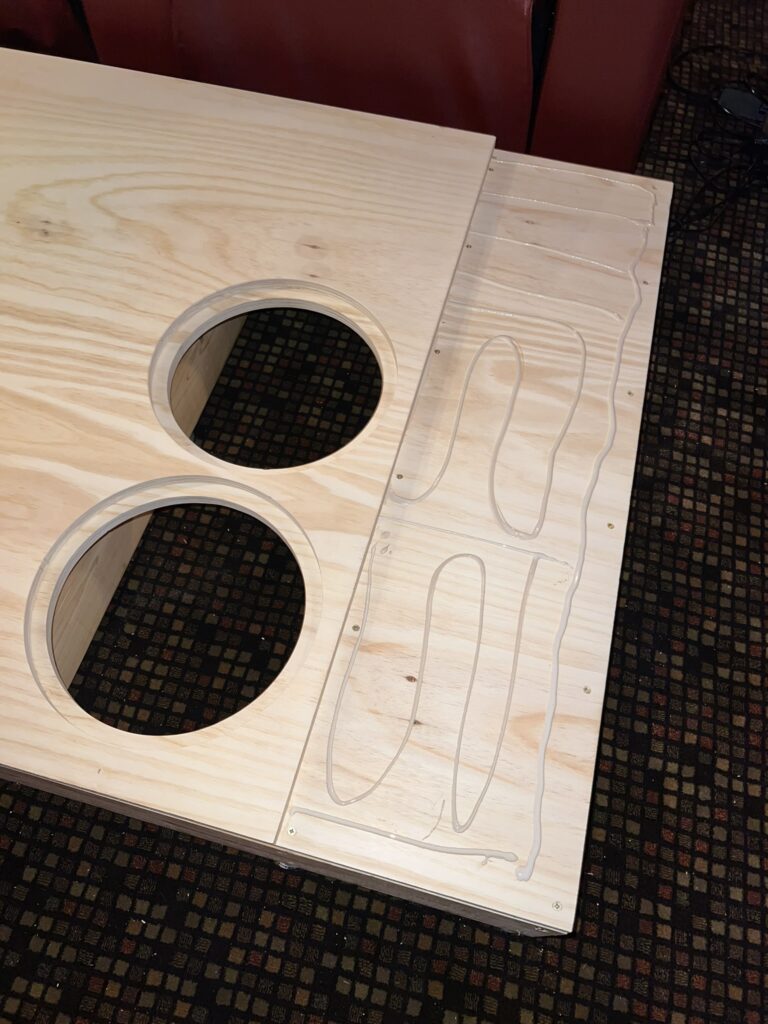
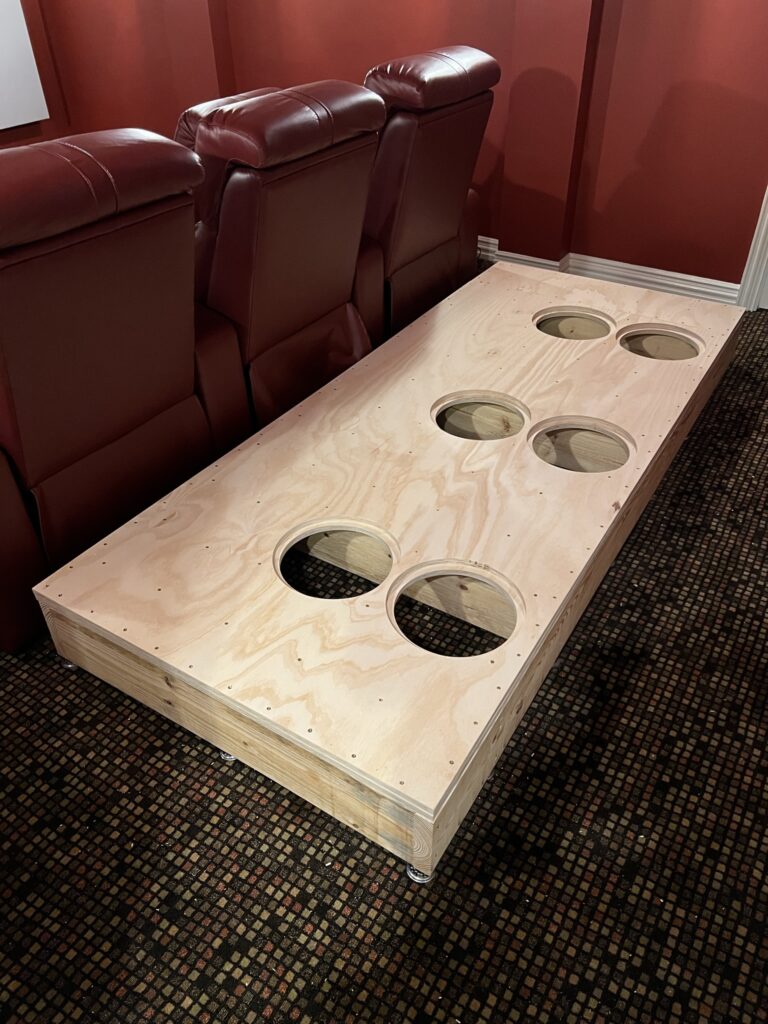
I didn’t just load up on the glue, since I used tons of screws to
The screws are every four inches on the perimeter and every 8 inches everywhere else

It should also be noted that the first layer was screwed on every 4 inches and the second layer was offset so that I didn’t hit the screws below. This made it 100% rock solid. I had my son (who is 6) jump up and down just to see it bounce a little on the isolators…pretty cool.

Wiring The Subs

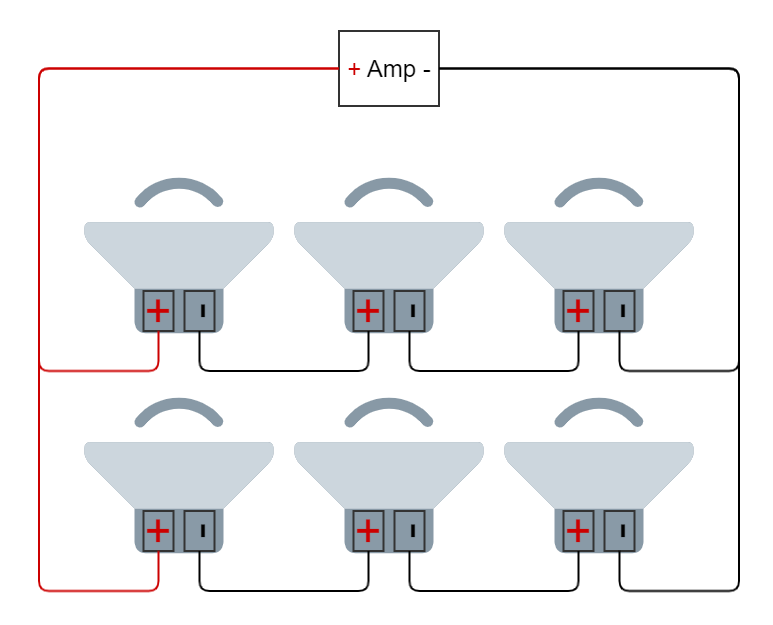
Once I finished the structure, it was time to wire up the speakers. With six speakers, the recommended configuration is one of series/parallel. Basically two sets of three speakers in series, and then those two sets in parallel. The math leads us to a 6 ohm load which will eventually be attached to an NX3000D in bridged mode. I soldered the negatives together on the last two speakers with connectors:
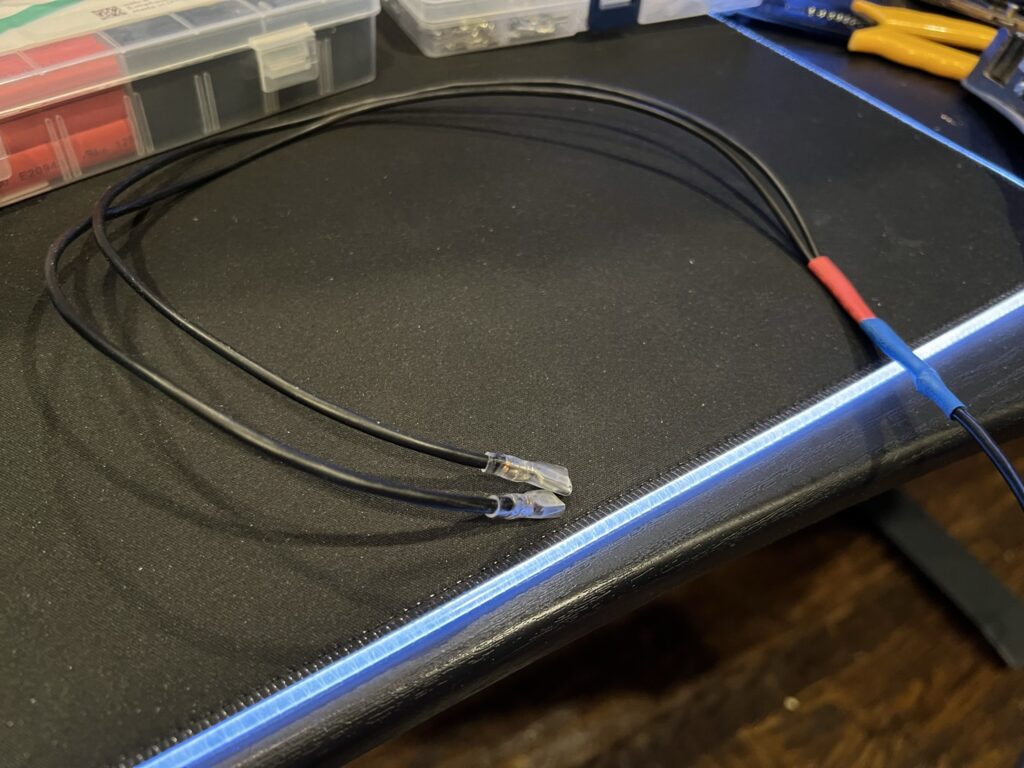
I learned that I am not good at soldering…still

I did the same thing with a red wire for the positives of the first two speakers. Then I connected each speaker together with the negative of the first to the positive of the second and the negative of the second to the positive of the third. I soldered the connectors to the wires:
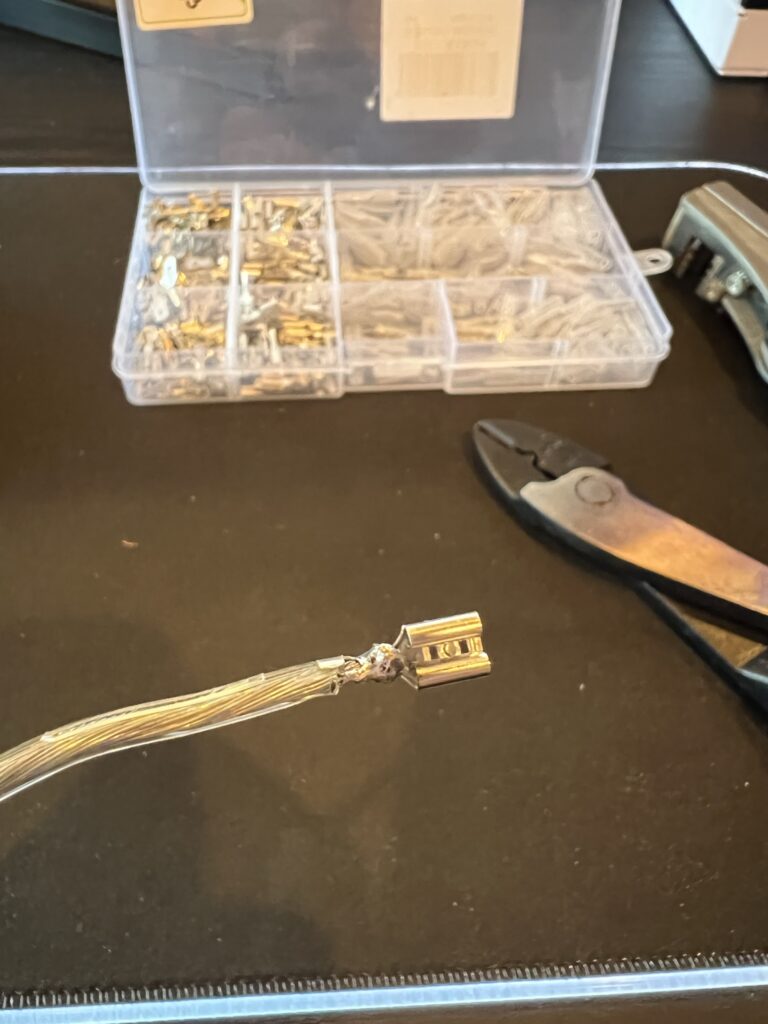
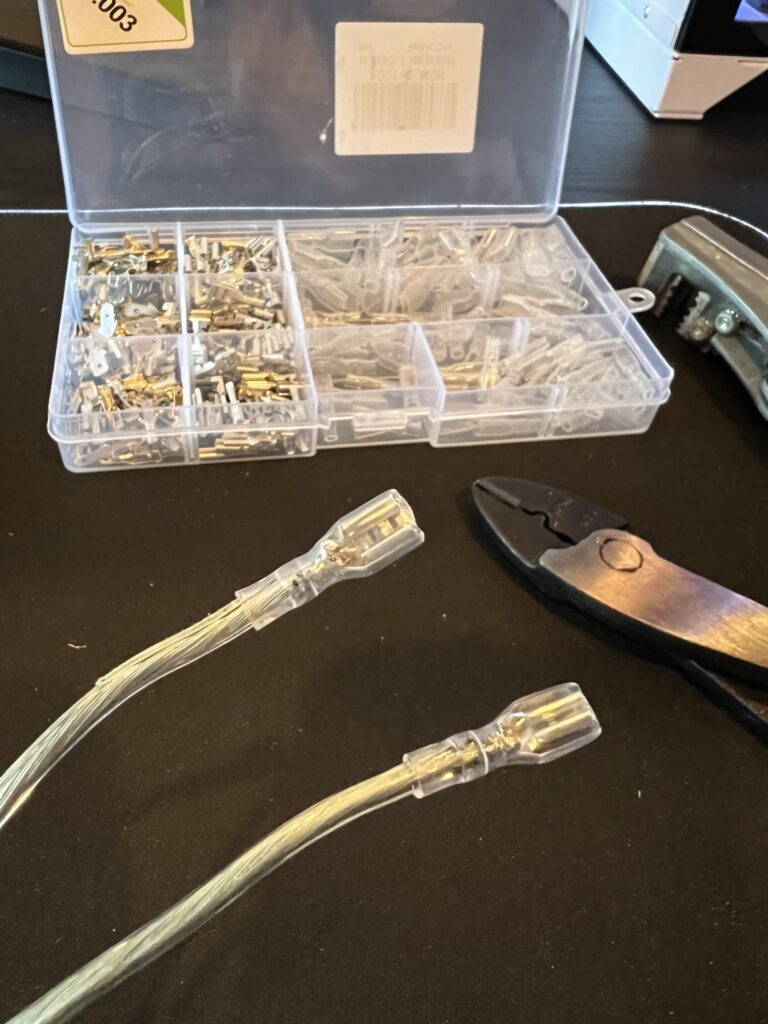
Like I said…bad at it
Completed with the rubber sleeves with a 2.8mm on one end and a 1.8mm on the other end
Here’s the diagram I followed

BOSS Riser Driver Installation

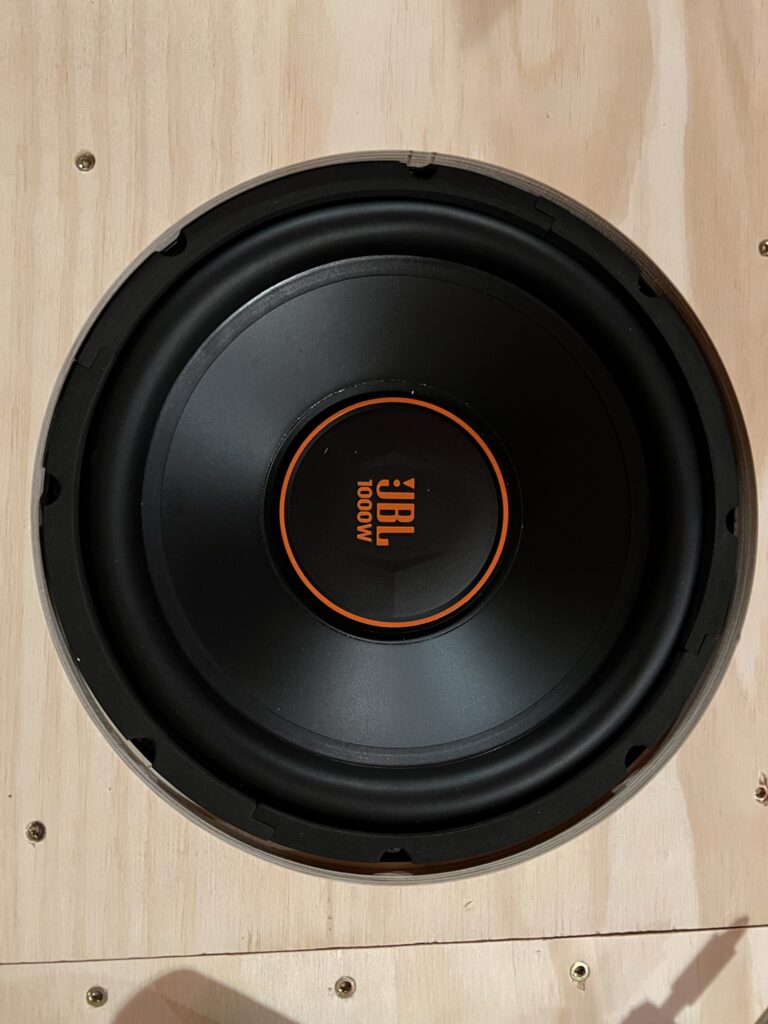
As this is a BOSS riser, I need lots of subs! Here are a few ready for installation:
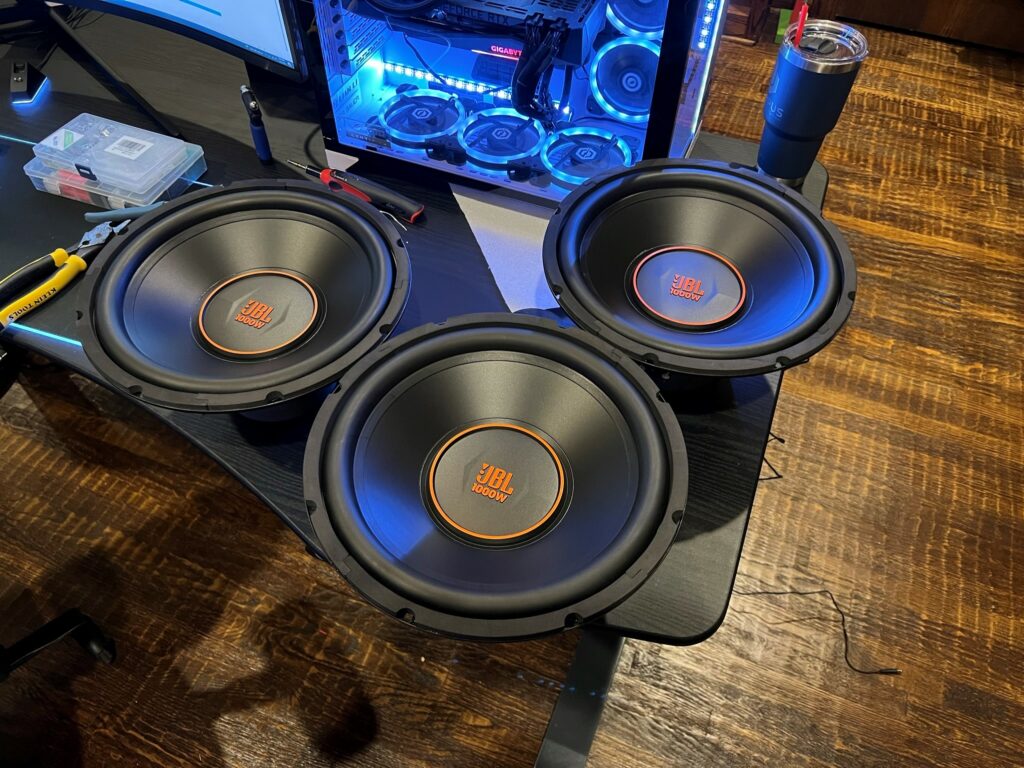
Ignore the mess, and that cup

Next up I set them on top to attach my connectors and run the wires. I made them a little shorter than intended so I had to wire and install each one rather than wiring them up and installing them all at once.
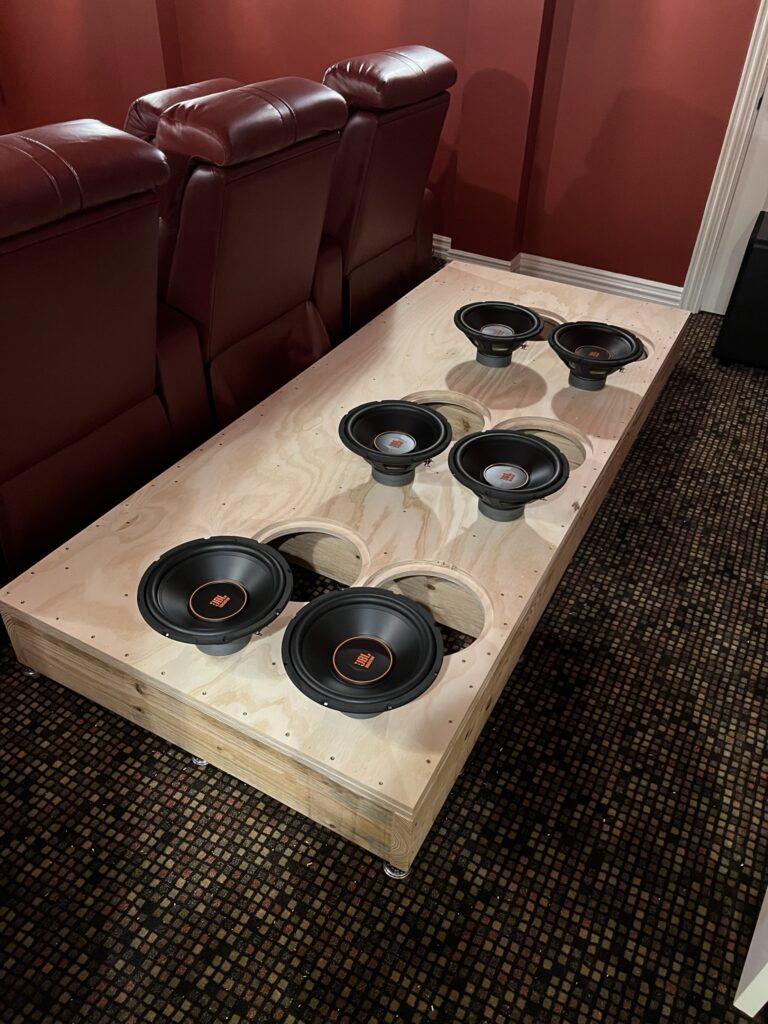
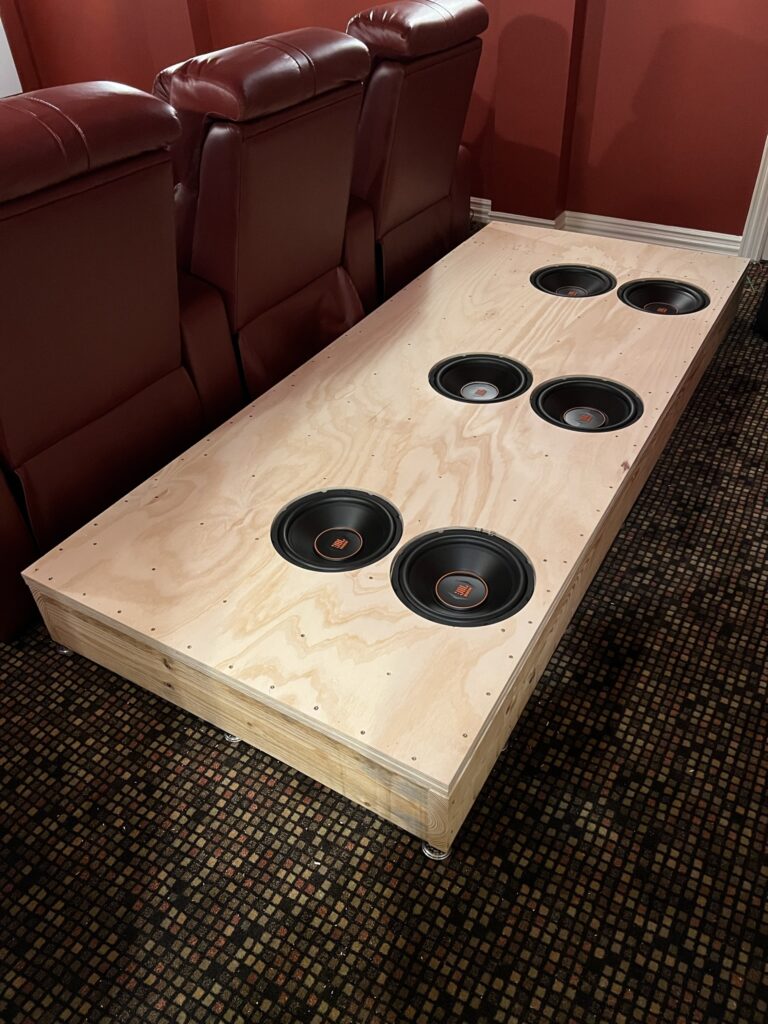
Looking close!
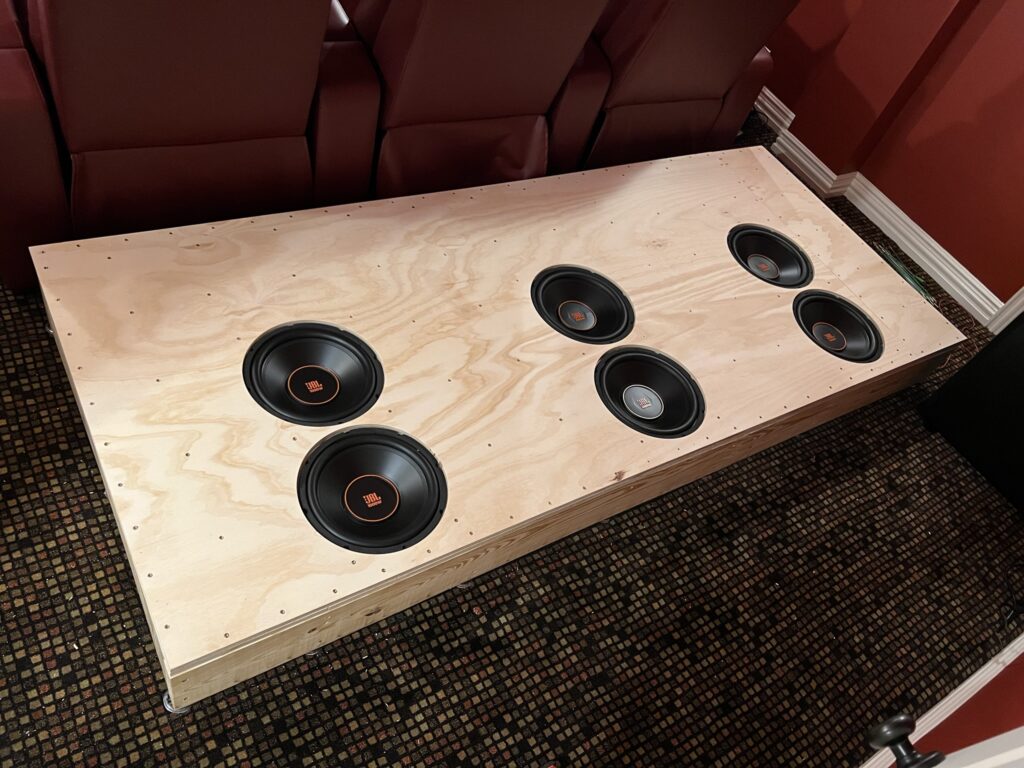
Drivers installed in place!
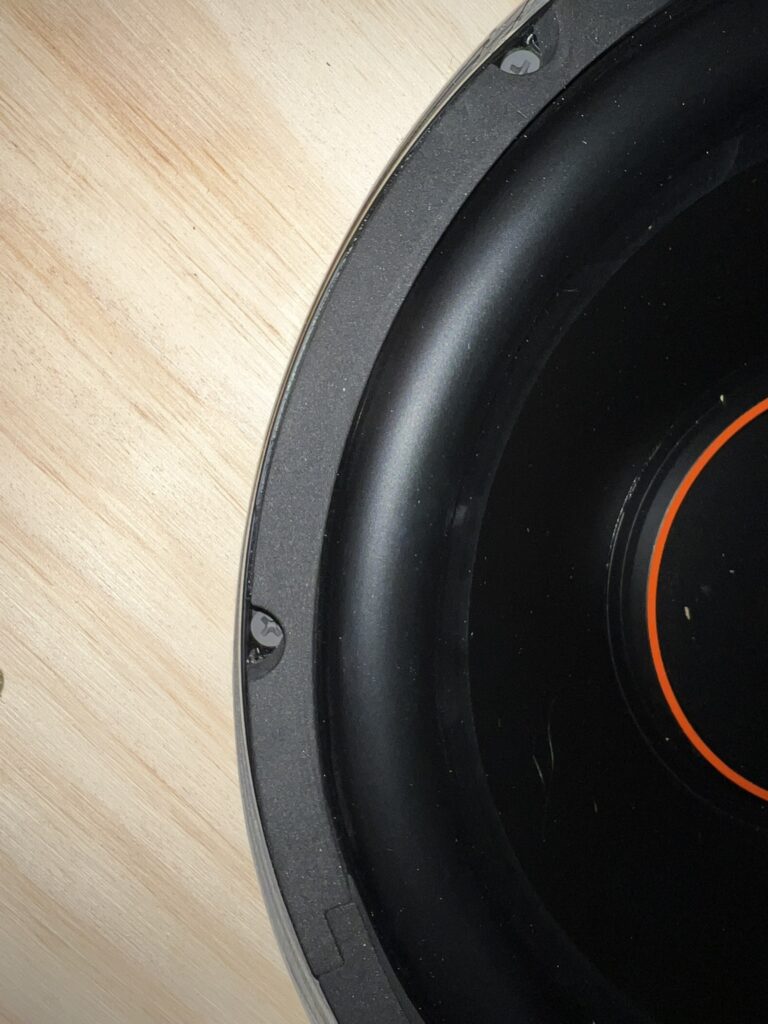
Close-up of a driver
Even closer! See the 1 5/8″ drywall screwed used to attach
One more shot of the completed product of part 1

Conclusion

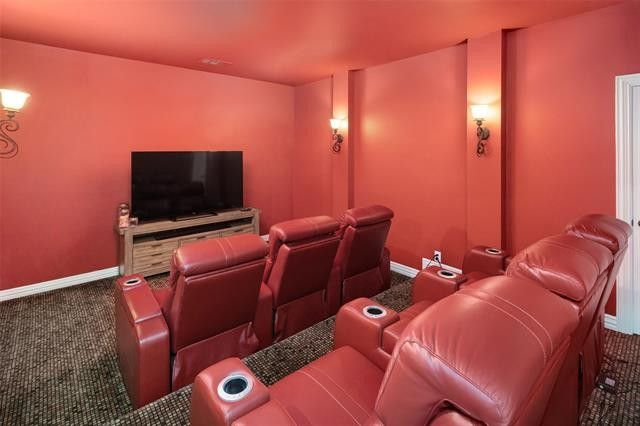
All in, this portion of the project took me roughly three nights of work. Two longer nights and a third night to finish it off during the week. Next up, we’ll add the Oak trim and get it all painted and carpeted! In the meantime, here is how it looks with my chairs finally high enough:
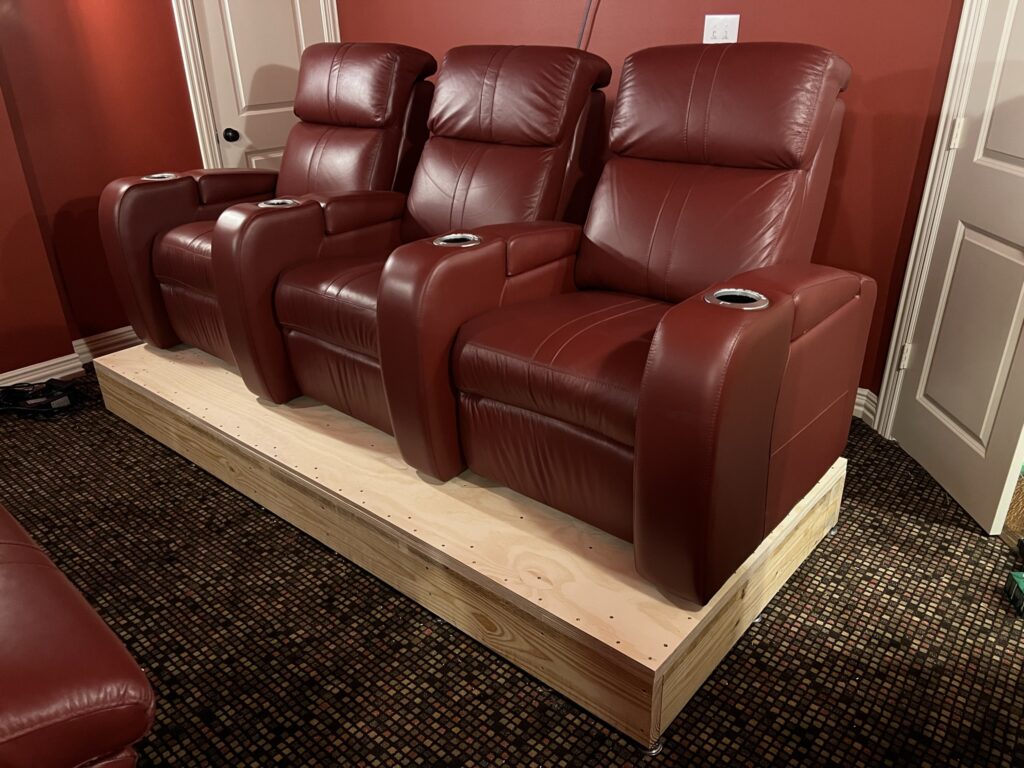
Finally!

And here is the aftermath:
Ugh

DIY Screen Build, Part 2

I must have gotten too much enjoyment out of my DIY screen since I haven’t made it back to post the follow-up of how I actually built the screen! This process starts with some wall preparation, then we’ll get into the actual frame build, the backing, and then finally the screen material. Let’s get started with some tools that I used and the materials.

DIY Screen Tools Required

  • Miter Saw
  • Table Saw
  • Kreg Jig and Bit
  • Staple Gun
  • Tape Measure
  • Pencil
  • Paint Roller/Pan
  • Paint Brush
  • Ladder

DIY Screen Building Materials

DIY Screen Preparations

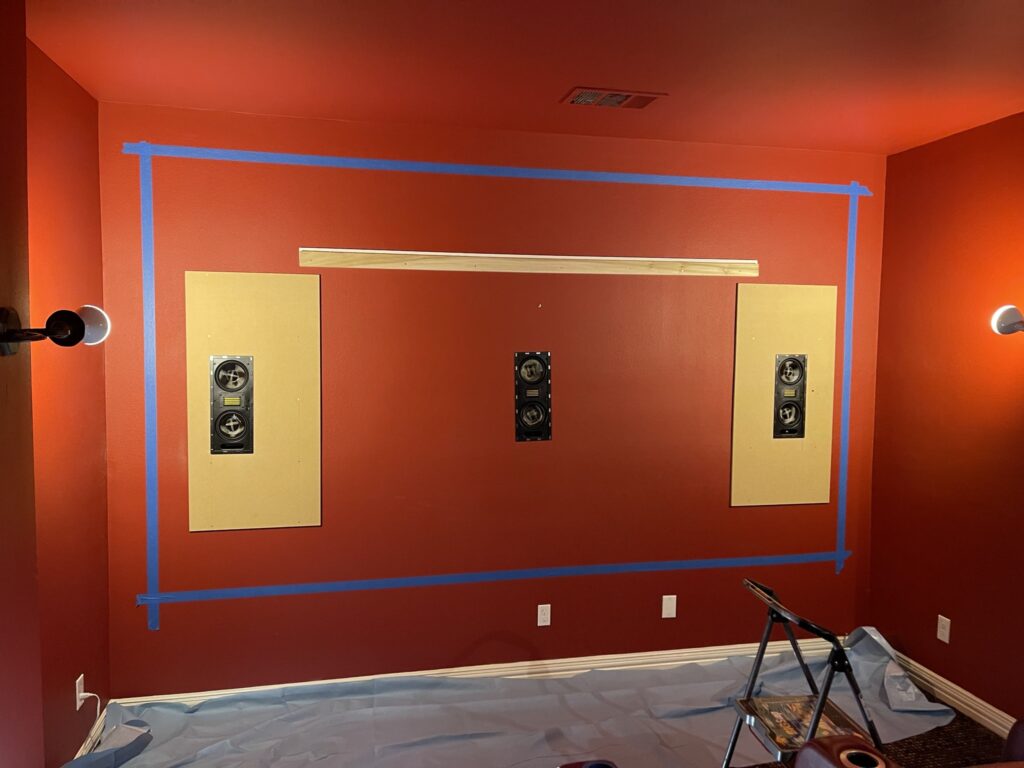
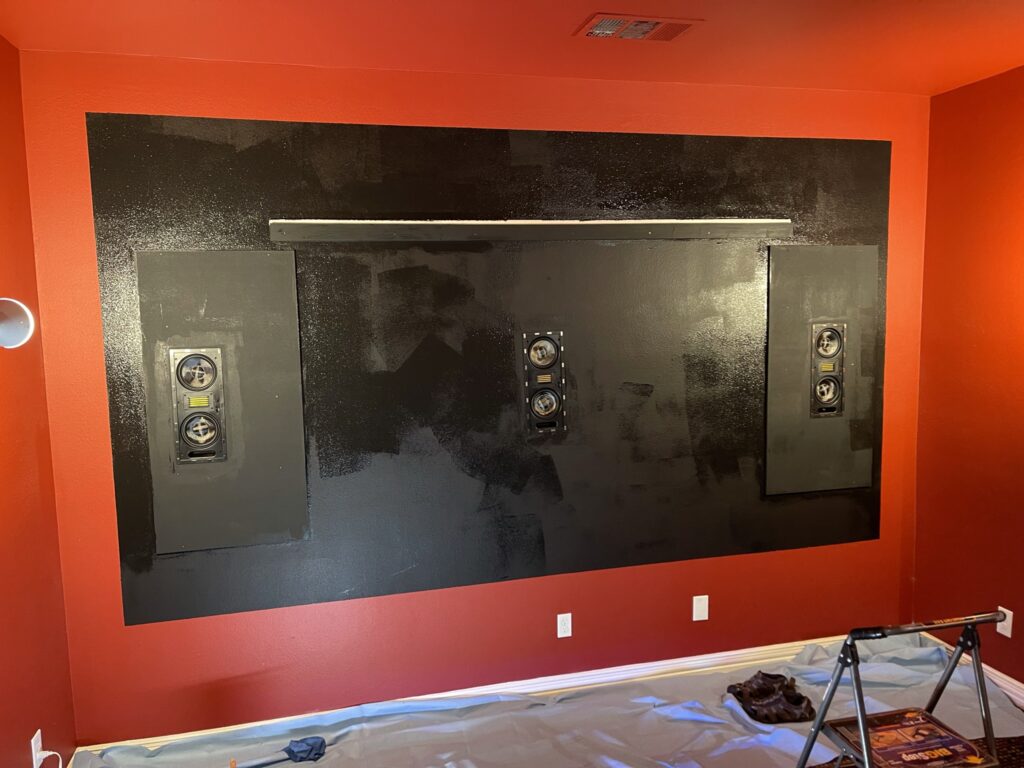
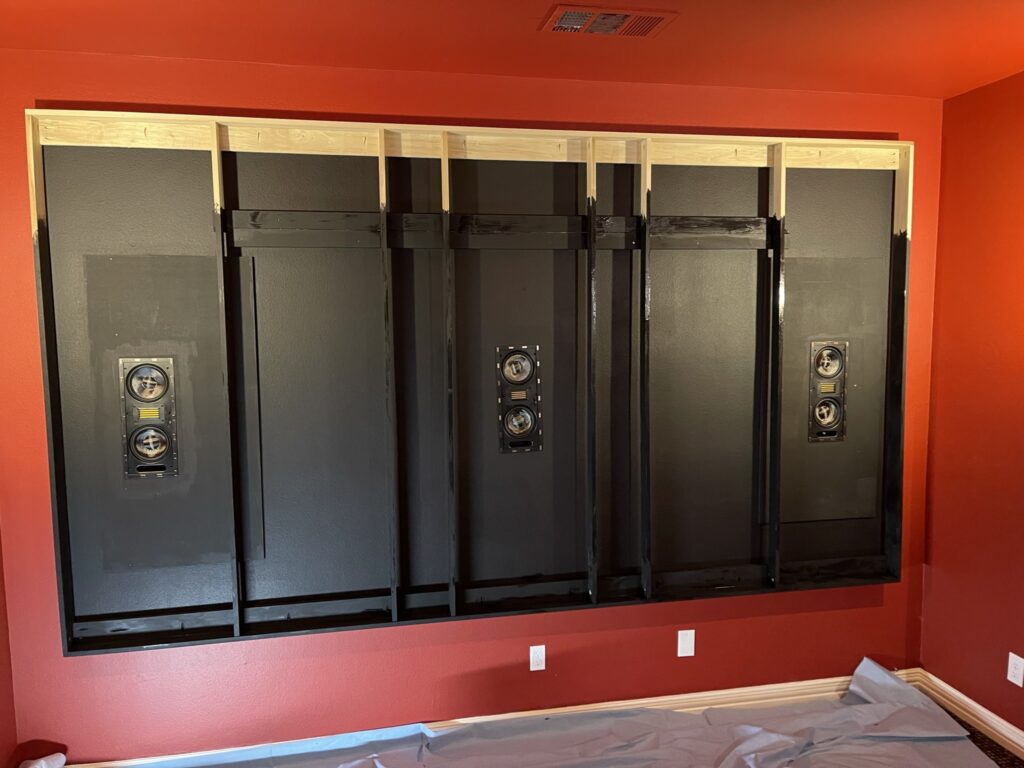
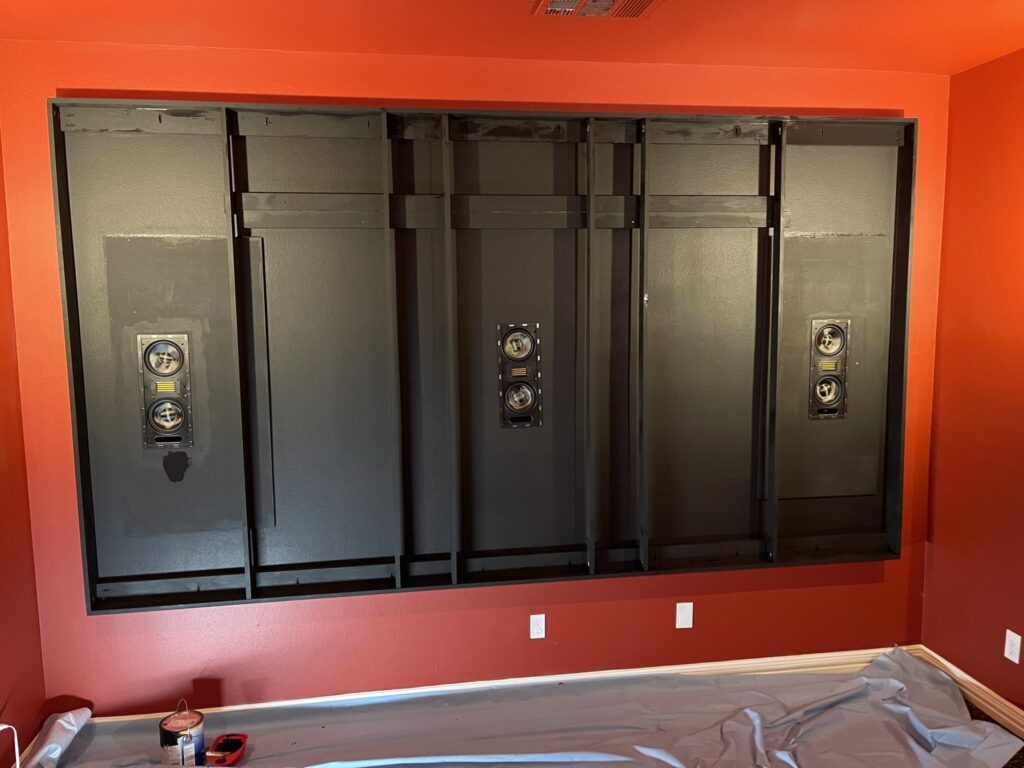
I started by taping off where my screen would live on the wall. In addition, I went ahead and put down a drop cloth to prepare for painting. Because light shines through our acoustically transparent screen, we should use both a black backer and paint the wall and frame black. Could I get away without the painting the wall? Maybe…but why risk it. I needed to paint the frame anyway…the wall is easy in comparison. I just used a roller.

I taped off the screen and took a seat the make sure this really was the size I was looking for…yep
I painted the wall with the Tricorn black flat paint…it dries flat, it was just wet in this picture

The French Cleat

The French cleat as been a favorite way to attach things to a wall for…ever? I managed to miss getting pictures of building mine, but essentially the French cleat will be a 1×6 that we rip using a table saw at 45 degrees. We can then attach one half to the screen to provide extra cross support and hang it from the wall. The other half will be attached to the wall. This gives us an easy way to adjust the level of the screen and make sure it never falls off the wall. Since I didn’t get a picture, here’s a basic design of what it would look like and you can see the wall portion attached in the photo above.

Frame Construction

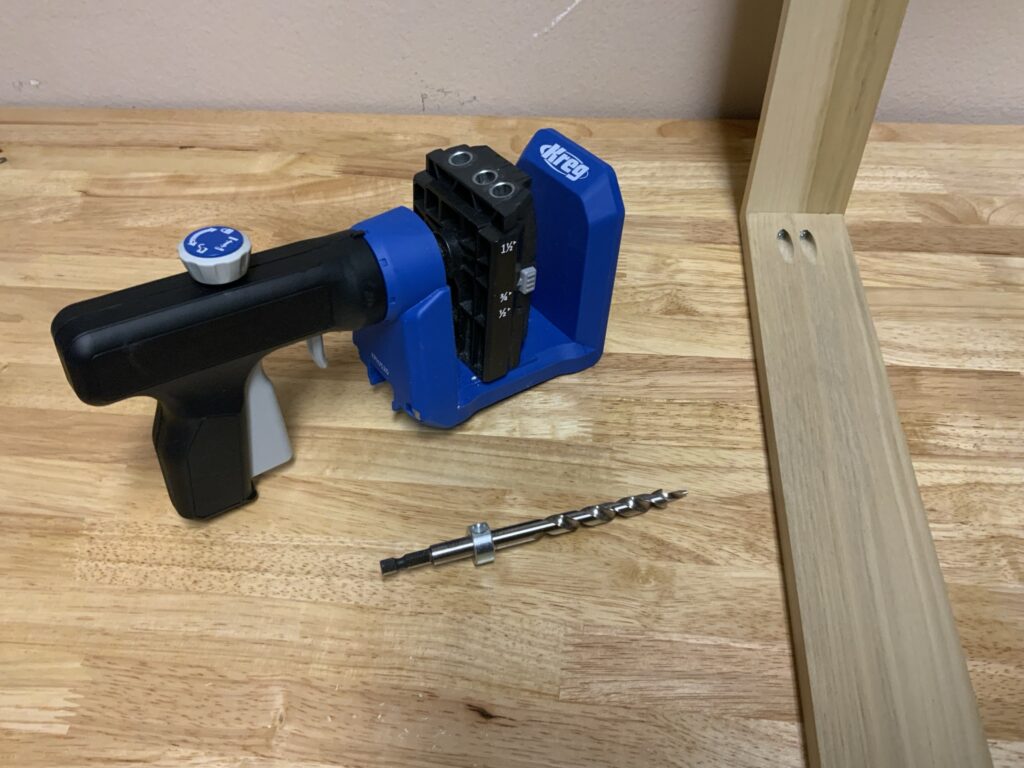
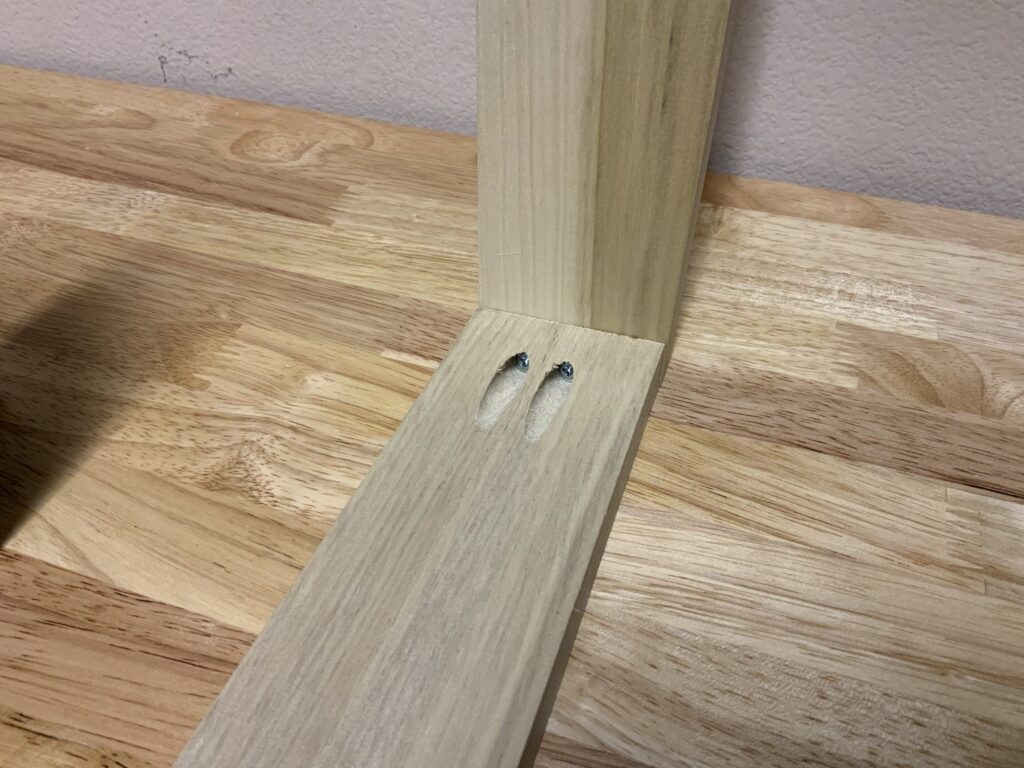
Once we cut down the poplar using our miter saw, its time to build the actual frame. To do so, we use the Kreg pocket screw jig and screws. These provide amazingly strong joints, specially for right angles. You see them used everywhere from cabinetry to just laminating wood.

This set came with screws, the jig, and the bit
A close-up of a joint

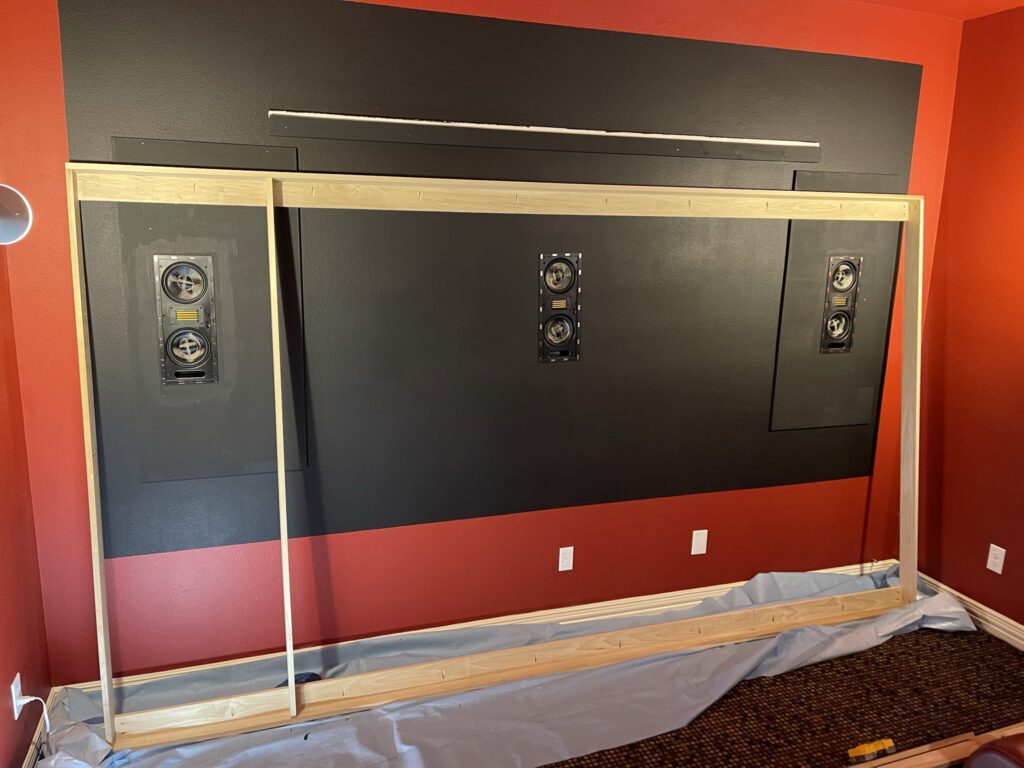
I decided to construct my frame in the room since it was 12ft long and was going to be difficult to move. I started with the basic outside frame and then added cleats to the top and bottom. Then I made my way across with the 1×3 supports.

Here we see the outside edges which all all 1×4, the cleats on the top and bottom which are also 1×4, and the first support which is a 1×3. This gives 1/4″ clearance to the front of the screen.

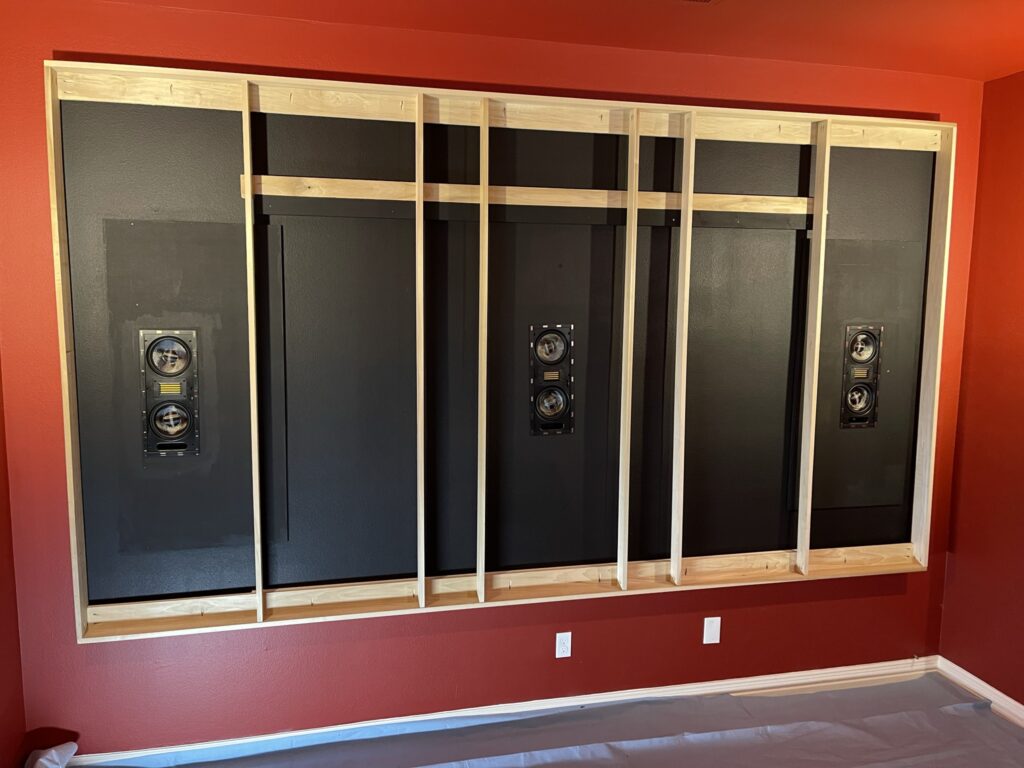
Once I completed the frame, I mounted it to the wall using the previously discussed French cleat. This seemed like a better plan than painting the pieces prior to assembly or painting it outside of the room and carrying it in.

Completed and mounted on the wall
Painting in progress…done 100% with a brush
Painting complete and almost dry! Very flat

Screen Material

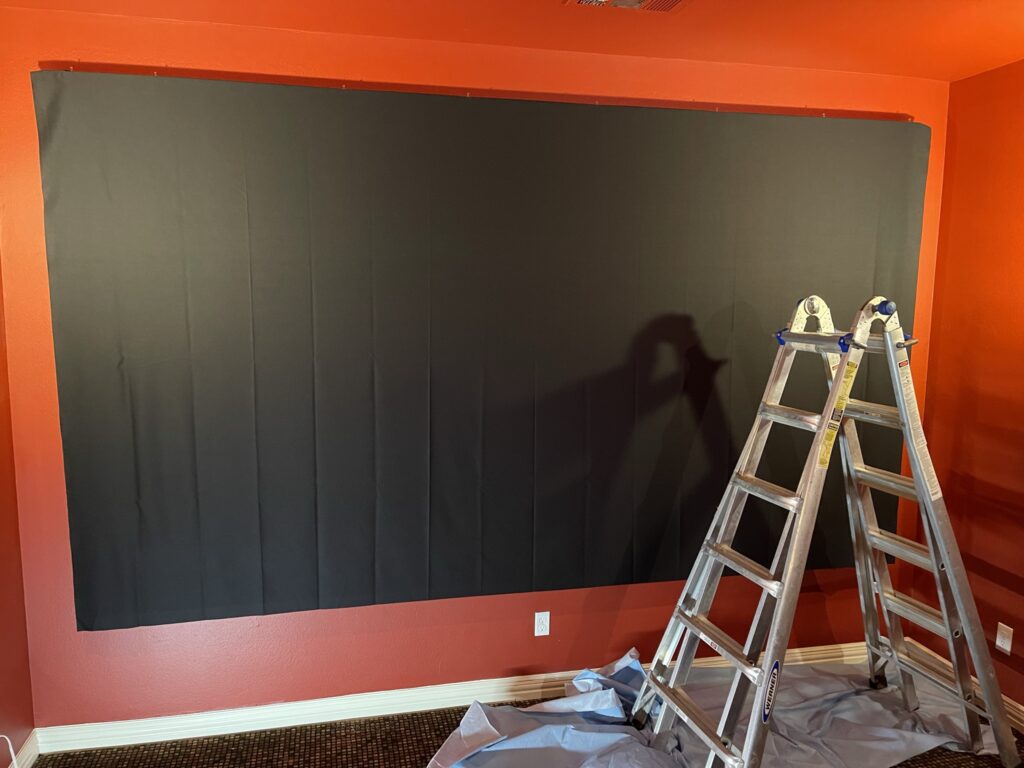
Now that the screen is painted (and dry), it’s time to mount the black backer. I chose to do this in place rather than on the floor. Sure it required a ladder, but it was easier than attempting to work on it in my room which had chairs limiting the room available to work. I started with the black material.

I used three thumb tacks, first in the center and then either end

Once the materially was loosely in place, I went from the center out on the top like you would with upholstery. I did this on the bottom and then the side, making sure to stretch any creases out. Luckily it stretched great and didn’t require ironing or steaming for me.

Fully stapled, you can see some extra material that will go away shortly

I purchased a Milwaukee M12 stapler and it was such a great purchase. Poplar is a hardwood, and as such…is hard. Harder than I thought it would be honestly. The poplar was very challenging to get a tack in while the electric stapler didn’t flinch and the battery lasted forever.

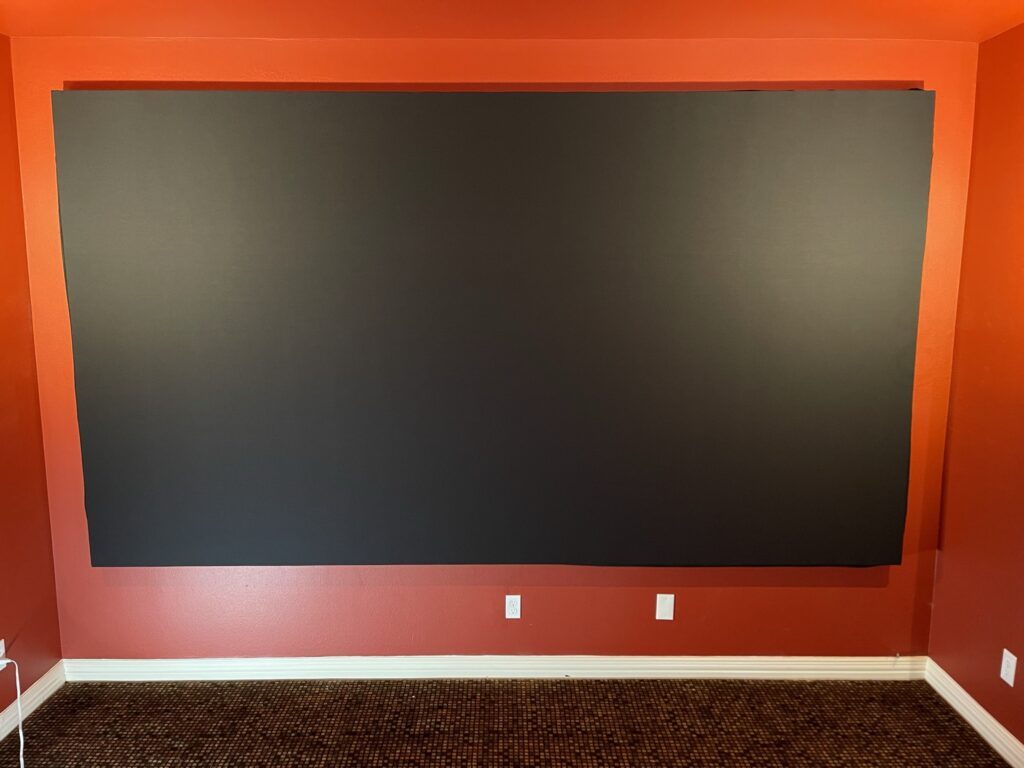
The final step is to stretch the screen material on. I had my dad helping me as an extra set of eyes to watch for wrinkles as I stapled it. I followed the same process as the backer and started with the top and worked my way out from the center. I didn’t go all the way across the top, bottom or sides. I worked out from the center on all four to make sure I didn’t end up with wrinkles. The UF material doesn’t really stretch much, so you just have to go slow and be careful as you make it around. Once complete, it looked like this:

Conclusion

I didn’t take as many pictures as I had intended, but hopefully this was helpful anyway. I’m impressed with the quality of the Seymour clothe and how easy it all went together. Next up…it’s time to build a riser!

DIY Screen Build, Part 1

As I began down the journey of my first home theater, I spent a ridiculous amount of time researching the different screen options. But the more I looked, the more disappointed I was at either the size, cost, or gain of the screens available. My room is 18′ deep and 13′ 6″ wide and I wanted to maximize my screen size. Not only that, but I wanted to have my speakers behind the screen and I wanted enough gain that I could do HDR without brightness issues. Let’s start with how to decide what size screen you should have and how I decided to build a DIY Screen.

DIY Screen Size

If you ask 100 people on the AVSForum what size screen you should have for your theater, you will get 200 different answers with most starting off with two words: it depends. And it depends really does sum up the quandry of screen size in a home theater nicely. It depends on how immersive you want the experience to be. It depends much depth your room has compared to the throw distance of your projector (and future projector). It depends on the width of your room and where you want your speakers. It depends…you get the point.

I started off my trying to figure out “the right” size screen for my room size. That took me down the rabbit whole of looking at the Society of Motion Picture and Theater Engineers (SMPTE) recommendations and then the THX recommendations and then reading the AVSForum…a lot. The SMPTE recommends a viewing angle of 30 degrees. This means you pick your main viewing location and either do some complex math or you a calculator from the internet. Doing the math for my room using a 14′ viewing distance (in between my first and second row) left me with a sad screen size of 90″.

Then I moved on to the THX recommendations of 35 degrees. This, I thought, sounded more promising since it would at least be bigger than 90″. Doing the math again I was left with 109″. Sure, they make 110″ screens, but it just didn’t seem big enough to me. And this is where we get to endless searches on AVSForum. And the recommendation there was interesting…just try different sizes and find what works for you. I found this to be refreshing as I was trying to hard to look at recommendations instead of just seeing what I liked.

So…I taped off my wall with the biggest size I could fit in my space and it came out to 165″. Now that sounds like the right size. And as I sat in my chair taking in the size, I thought…this is perfect, for me! Many people might think it’s too big, others might think its not even big enough, but it worked for me. But now I had a problem…if I had my screen that wide, where would I put my speakers?

Speaker Placement with a Large DIY Screen

I had a great idea of what my size screen would be…which was awesome, but now I had no idea where to put my speakers. With my screen size, I would only have about 8″ on either side of the screen. I also had a height problem. My screen was 24″ off the ground the way I designed it, so now I have to figure out where my center channel would go. This led me down the seemingly crazy idea of an acoustically transparent screen. This would allow me to get three matching speakers behind the screen and even put them at the right vertical level of the screen.

I’m going to be honest…I had no idea that was even a thing when I went down this path. The more I read about it, the more awesome it sounded. So I had to try that! The problem was finding a screen that would be the right size and not break the bank. The best option I found was a 150″ Silver Ticket screen that had pretty good reviews. But it was smaller than I really wanted and it wasn’t exactly a budget item at roughly $1200. So I kept looking. Then I stumbled upon the DIY Screen sub-forum at the AVSForum.

There were a number of people building their screen using materials like milliskin spandex or buying material from screen manufacturers. There were even a few people getting tons of samples and doing comparisons. The more I read, the more interesting it became. Acoustically transparent screens very commonly have texture which can be visible at certain distances. Even spandex, which has virtually no texture has the downside of having a much lower gain (which makes for a dimmer image).

In the end, I happened upon the Seymour AV website where they have an entire page and how-to guide on building your own screen. I cross-referenced this to all the threads I had been reading about materials and found that the UF material that they sell was perfect for my needs. It had a higher gain and spandex, was much taller allowing me to build a 165″ screen, and was readily available. Even better…it wasn’t obscenely expensive. It was only $13.95 / linear foot. For my screen, that meant the material was only going to cost $181 plus shipping. Even better than that, they answer their phone and are extremely helpful.

In my conversations with them they helped me decide on the right material (which was in fact the UF) and even gave me some helpful tips on painting the frame that I was going to build and getting a black backer material. They sold such a material, but it was going to cost almost as much as the screen material. I had found another backer material on clearance at the Silver Ticket website for $60 and rather than trying to sell me on their product, they readily said “get that, you can’t beat that price.” That was pretty refreshing.

Brightness for HDR and Your Screen

Obviously I’m a fan of Seymour AV, but there are other great options out there. I seriously considered the spandex route, but I needed 120″ wide material to build my 165″ screen, and due to supply chain issues, it just wasn’t available. And honestly, it wasn’t much cheaper than the Seymour product. But, more importantly, it didn’t have nearly the gain of the Seymour product. But wait…why do I care about screen gain? I would start by reading this article, as it goes into a lot more detail than I will here. In short, screen gain is the ratio of light reflected by the screen. So if you have a 1.0 gain, it reflects the same lumens that your projector is firing. If you have a .8 gain, it reflects 80% of the lumens back. The higher the gain, the brighter the image.

Again…why do I specifically care? Bright isn’t always better, but it does have importance in today’s home theater. With HDR being supported by more and more projectors and content, brightness matters. While projectors can’t really do “real HDR,” the brighter the image on your screen, the better job it does simulating HDR. So it can be helpful to understand your projector choice when you are picking a screen material. In my case, I was targeting the JVC lineup at the time (before the new laser models released) or the Epson lineup. The Epson 6050 UB was my choice, which had a light output of 2800 lumens. By contrast, the JVC that was closest to my price range was the NX5 which only had a light output of 1800 lumens. So I figured I would shoot for the higher gain screen in case I went that direction.

Designing my DIY Screen

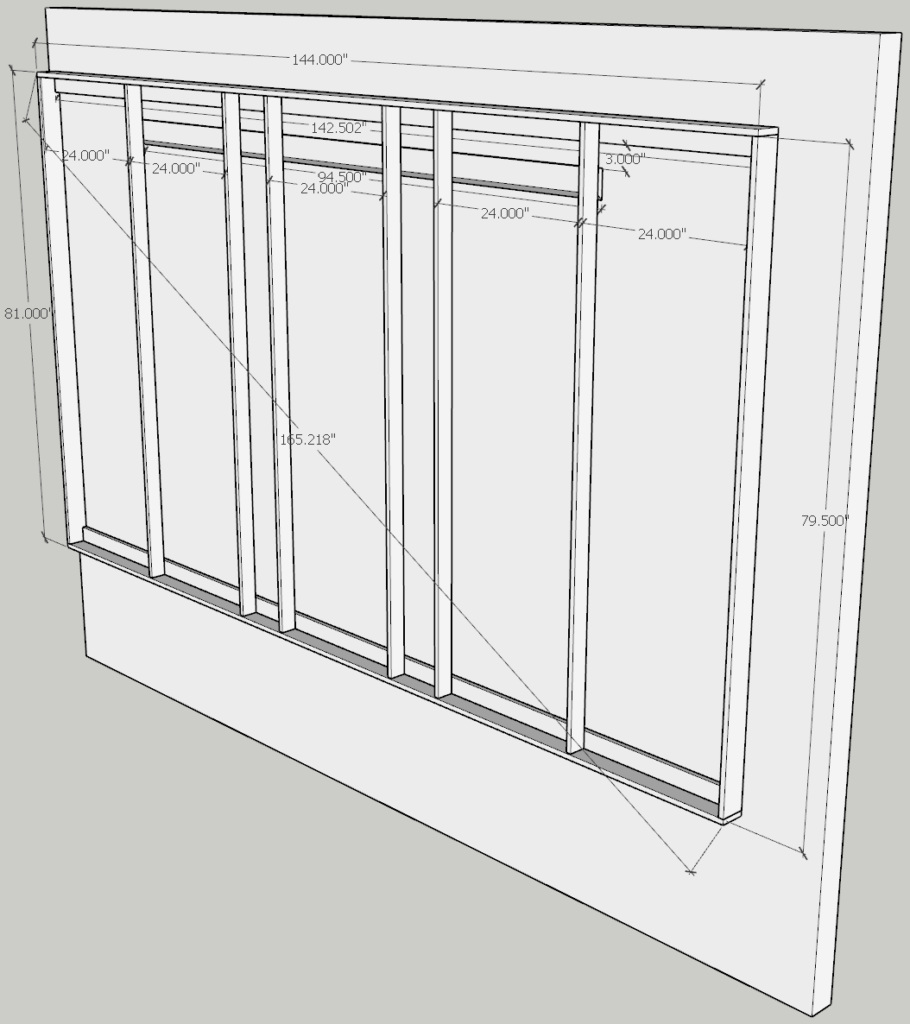
Now that I had decided on a fabric to use and a screen size, the only thing left was to design the frame to support it. Luckily, the AVSForum wins again…thanks to MississippiMan. He posts in the DIY Screens sub-forum all the time and answers questions and helps the community massively. He was kind enough to provide excellent feedback on my design. There are plenty of options like a flat frame, frames made from metal, frames made from wood and spring loaded frames. In the end, I decided to go with a wood-based frame as I’ve spent more than my fair share of time woodworking and had the tools necessary. So…here’s the design he helped me finalize:

The outside structure that supports the frame is made from 1×4 Poplar. The inner supports are 1×3 Poplar. The top and bottom horizontal cleats are 1×4 Poplar. The French cleat is a 1×8 ripped in half at a 45 degree angle to hang the screen from the wall. It’s much like building a wall from hard wood. You need enough support to stay square and rigid while stretching and attaching your fabrics. The cleats on the top and bottom are key to keeping it nice and rigid. The French cleat helps as well. The actual DIY Screen design itself was built using my favorite tool: SketchUp.

Next Up, The Screen Build

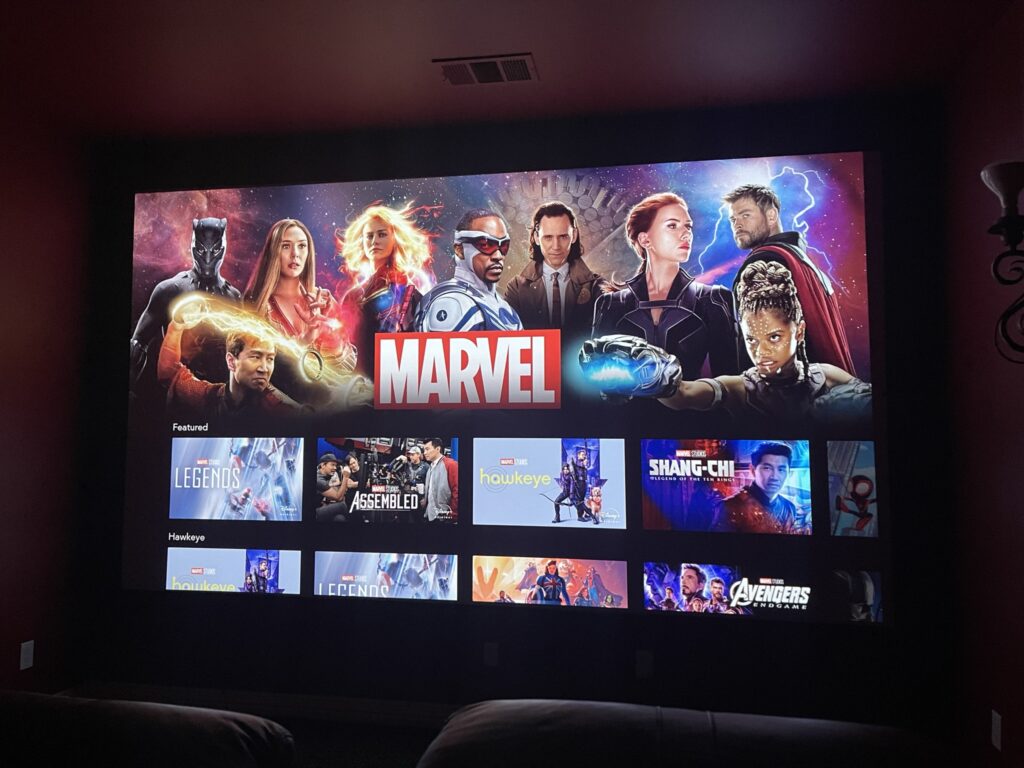
While I was planning on this post to be my one post about building a DIY Screen, there ended up being more background than I had anticipated. So…it’s time to split the post into part 1 and 2. In the next post, I’ll show you how I built my screen, what tools I used, and how long it all took. In the meantime, here’s a sneak peak of what it looks like when you get done:

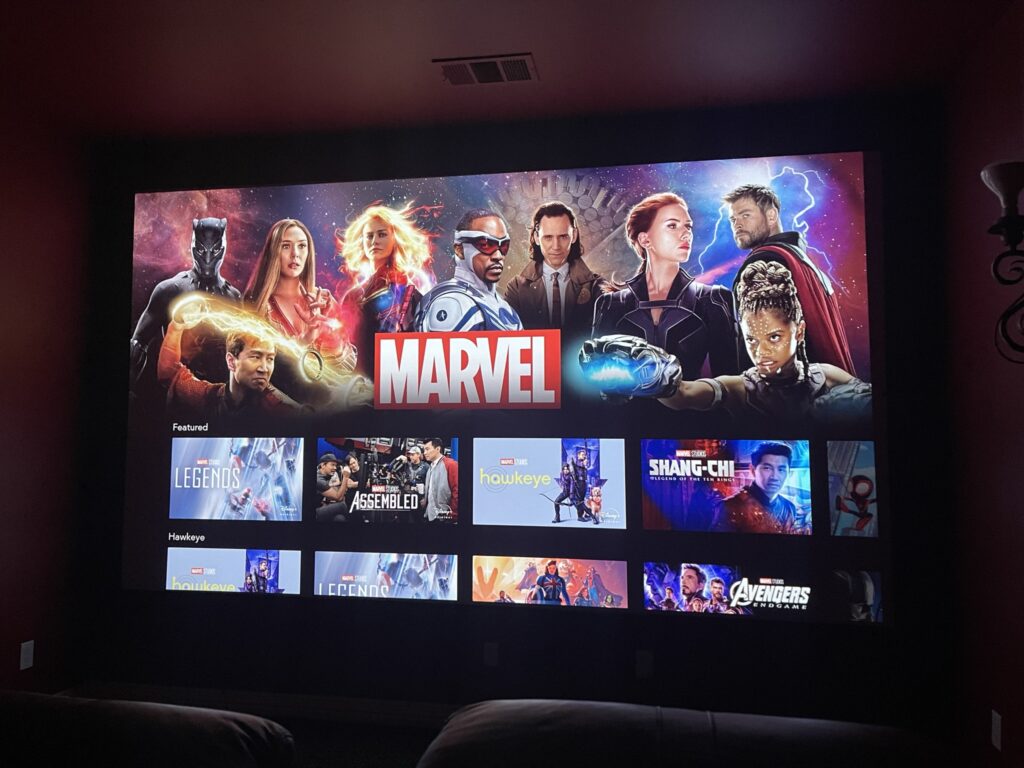
my DIY screen

Home Theater Design

Before we ever buy the first piece of audio of video gear, we first need to understand what we want to get out of our theater. Are we focused solely on movies? Do we care about TV? What about music? How many people do we need to seat? How close are we to other rooms, like a master bedroom or a kid’s room? There is an infinite set of questions to ask, but we have to start somewhere. By asking some of these questions up front, we can begin to put together a home theater design that provides the features that are most important for our use of the theater.

Home Theater Design Ideas

As I mentioned in my very first blog post, the AVS Forums are always going to be the very first go-to for design ideas. I’ve learned more just reading build logs than I ever thought there was to know. Here’s a few links to important areas on the forums along with a subreddit that is a little more scattered but still has great content:

I’m contemplating the idea of a completed gallery with tags for easy filtering and searching, but this is just an idea. If this seems like a decent idea, drop me a comment and let me know!

Home Theater Design Tools

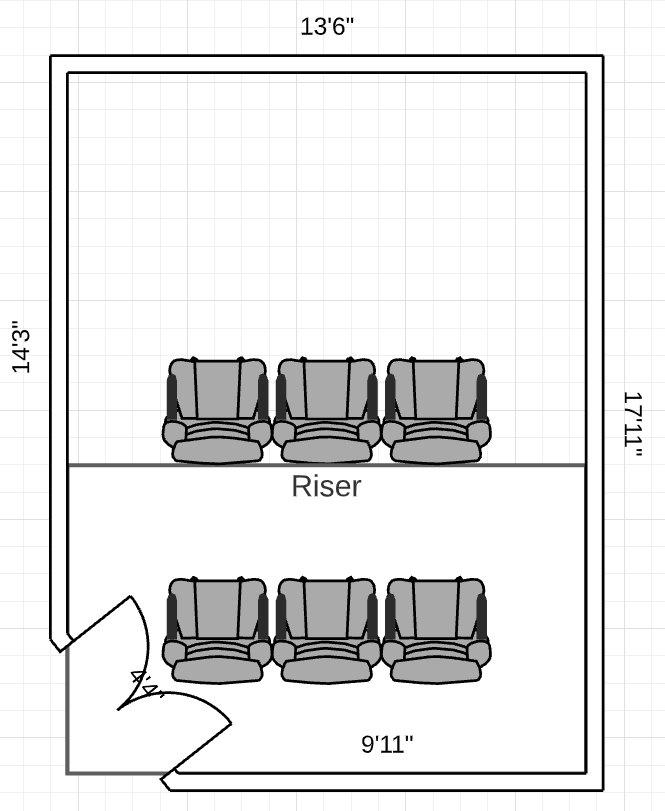
So if we must start with design, what’s the best way to visualize this? There are a variety of great tools that are free out there. Personally, I find SketchUp to be an amazing visualization tool that doesn’t have a steep learning curve and really let’s you get a feel for what your theater can look like. It also has great measuring tools that let you easily determine angles for the main listening position (MLP). I’m a relative notice at home theaters, but I’ve been a fan of SketchUp for years to aid in many woodworking and design projects over the years. Here’s an example of what I hope to build:

Beyond SketchUp, there are a variety of floorplan toolsets out there:

I found LucidCharts to be by far the easiest for working with Floor Plans. Diagrams.net didn’t really understand how walls connect and while Visio did, for the price (not free), I would have expected better to be honest. Here’s a quick example in Lucid:

home theater design

Not great…but for the price, it’s hard to argue. This took me literally 5 minutes to create compared to the hour I spent in Visio producing a less desirable outcome.

Budget

Now that we have some ideas in mind and some great tools to put together our design, let’s talk about next steps. First, we need a budget. This part will determine basically every decision you make going forward. From the size of your screen, the projector you select, the audio system you choose, the seating options, even the paint and carpet options. Establish a budget and then expect that you will almost certainly spend more than that budget. Place like AVSForums are excellent at spending your money! Things you should plan to budget for:

  • Projector
  • Projector Screen
  • Audio Video Receiver and/or Amps
  • Playback Device (Bluray, Console Game System, Roku, etc.)
  • Speakers
  • Subwoofer(s)
  • Acoustic Treatments
  • Lighting
  • General other stuff like wiring (both speaker and electrical)

The AudioAdvice website actually has a great article that I read earlier this year when it finally looked certain that I would have a dedicated theater in our new house. I also highly recommend breaking out Microsoft Excel and documenting everything you want to do as a way to see how over budget you really do end up.

Conclusion

Now that we’ve covered some of the basics, I plan to get right into the specific build log of the various things I plan to do to my theater. Here’s where I plan to start:

  • Screen Wall Blackout
  • DIY Screen
  • Remote Controller Screen Masking (to switch between 16:9 and 2.39:1)

Until next time!

Home Theater Blog Introduction

Welcome to the inaugural blog post of the new Home Theater Blog! I’ve decided to launch this blog in an effort to consolidate knowledge from those far more experienced than myself in the area of home theaters. I actually searched around and noticed a profound lack of home theater blogs.

Where Are All The Blogs?

This is a question I’ve asked myself for a while. But I think the answer can be linked to the wealth of knowledge found at sites like AVSForum.com. And while I visit this site multiple times a day and constantly read build logs and learn more, I also find myself frustrated. I find that it is really hard to find specific items that I would like to understand without happening across old threads that are either out of date or worse…exactly what I’m looking for, but the pictures have long since been deleted.

So Why a Home Theater Blog?

Two mains reasons. First and foremost, I enjoy blogging. I enjoy documenting my experiences, good and bad, and hope that others may benefit from those experiences. If a blog post helps even one person accomplish something on their own home theater, the blog post was worth while! And even if it doesn’t, I still had the enjoyment of documenting my experience!

The second primary reason really comes down to trying to build a resource that can be referenced in a google search that won’t have dead pictures or missing parts of information. People post amazing builds, things I can’t hope to recreate. But often times the information is somewhat lacking as to how they got from the beginning to the end. My plan is to build blog posts that offer information that can be referenced with every single step of how I got there. That way if you want to do the same thing, there’s no question what you need to buy and what steps to take to get there.

What Will Your Home Theater Blog Be About?

I’m a relative notice at home theater builds. This may make me the worst person ever to blog about the topic. Or perhaps, a person like the rest of you with a similar level of experience. So maybe I can better convey my experience with that lack of prior experience. That’s not at all confusing right?

But, to provide a little more background about myself… I’ve always wanted a home theater. Over the years, in the houses we’ve owned, it just hasn’t happened…until now. I finally have a house with a dedicated home theater! But wait, what will you blog about? Well, that home theater isn’t exactly ready to go. It has a TV and some theater seating, but we have a long way to go until I would call it a true home theater.

What’s Next

I’m planning on starting off exactly where I started off…designing my theater. I searched around trying to figure out the best way to design it, sources for inspiration, and knowledge on how to do things. Much of that knowledge that I’ve found has come from the AVSForum, and I plan to reference various posts in the forum with the hope of streamlining some of the information that can often be buried deep in a thread with 100+ pages.

Once we get past the basics, I plan to start building out my home theater, right here on this blog. I will document everything I do with specific topics and share it with the home theater community in the hopes that someone finds it useful. I don’t plan to have any advertisements or make any money through links. So you can rest assured that if I post something here, it wasn’t because I was paid. I have a day job that takes care of that, and this is just a hobby that I plan to enjoy.

How About a Picture?

Before we move on to more entertaining topics than an introduction, I’ll post a few rough pictures of the starting point that I have to work with. Some of you may be starting with more or less, but this is where my journey begins:

Home Theater Blog
Where’s the projector screen? Or even one speaker?!!